
Parkside - The Best-Selling DIY Brand in Europe
Parkside Garden Offers In-Store From Thursday 26th February
Parkside DIY Offers In-Store From Monday 2nd March
Parkside Garden Offers In-Store From Thursday 19th February
Parkside Offers In-Store From Thursday 5th February
Parkside Offers In-Store From Thursday 29th January
Let the Robot Lawn Mower do it
Make lawn care easy: the PARKSIDE Robot Lawn Mower does it for you. Automatic, powerful and, if you want, smart via the app
Robot Lawn Mower Features
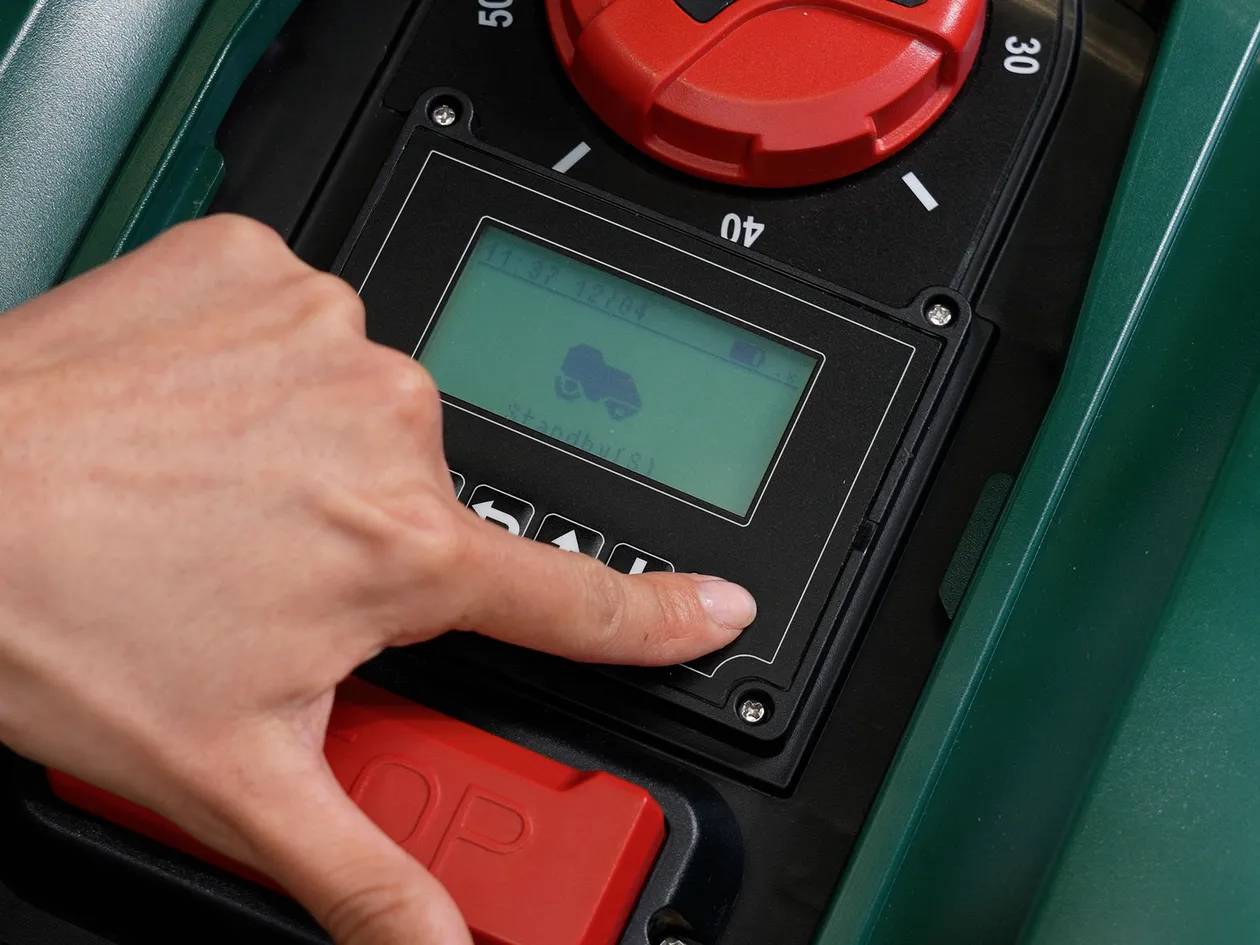 Mows according to schedule
Let the Robot Lawn Mower work in up to two individually adjustable time periods.
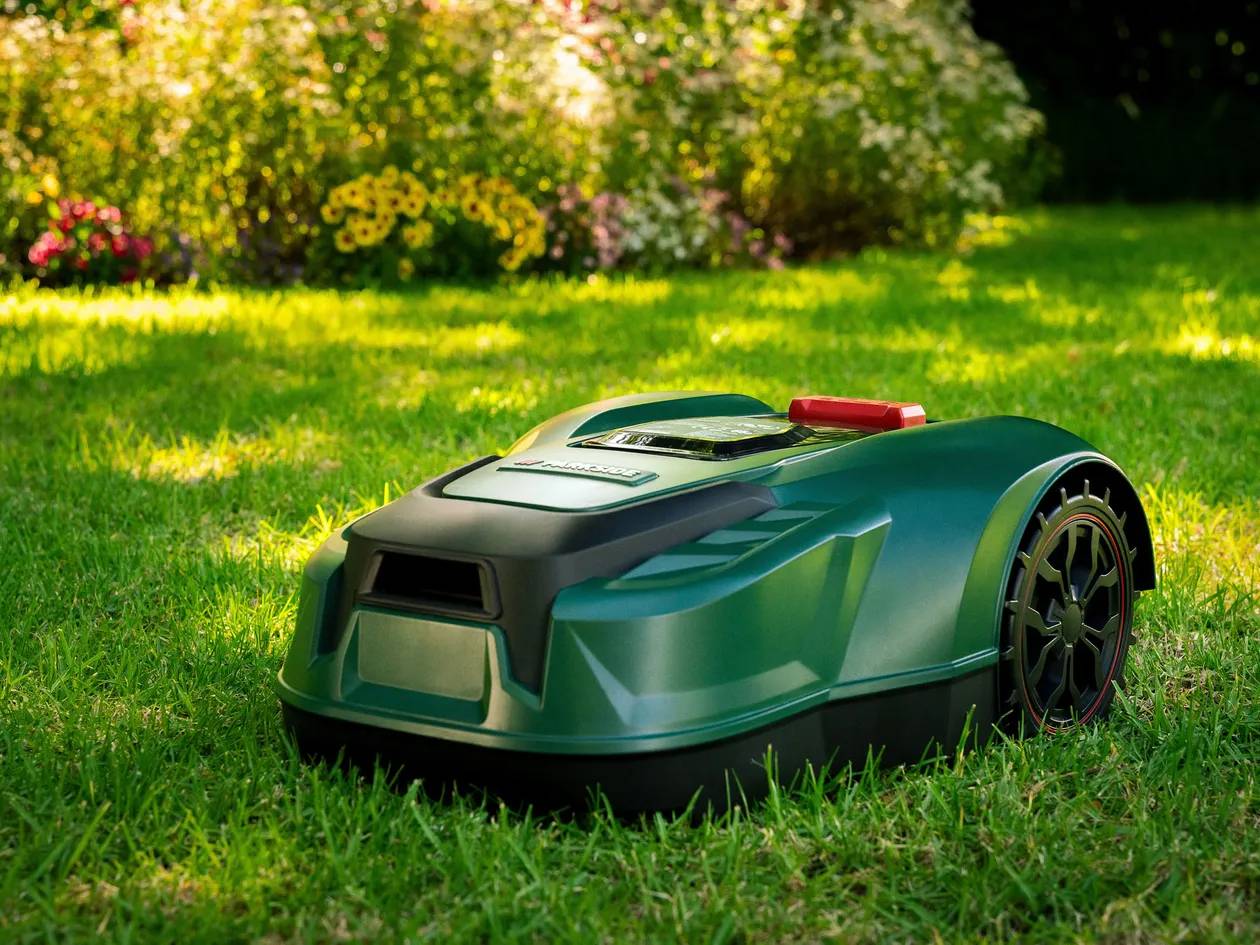 Can also mulch
The Robot Lawn Mower mulches by leaving the clippings on the lawn as a natural fertiliser.
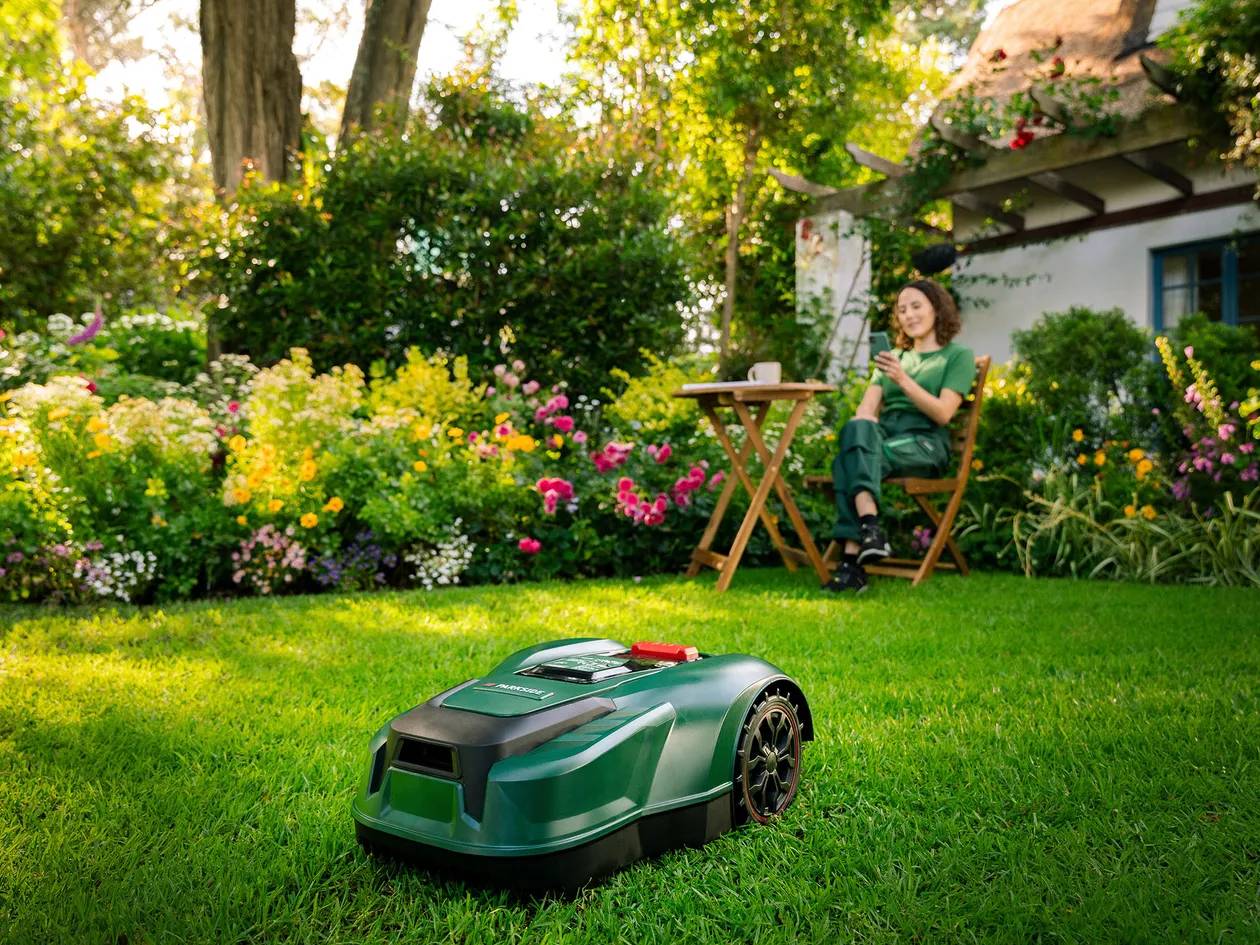 Also smartly controllable
You can connect and control the smart models with the PARKSIDE app.
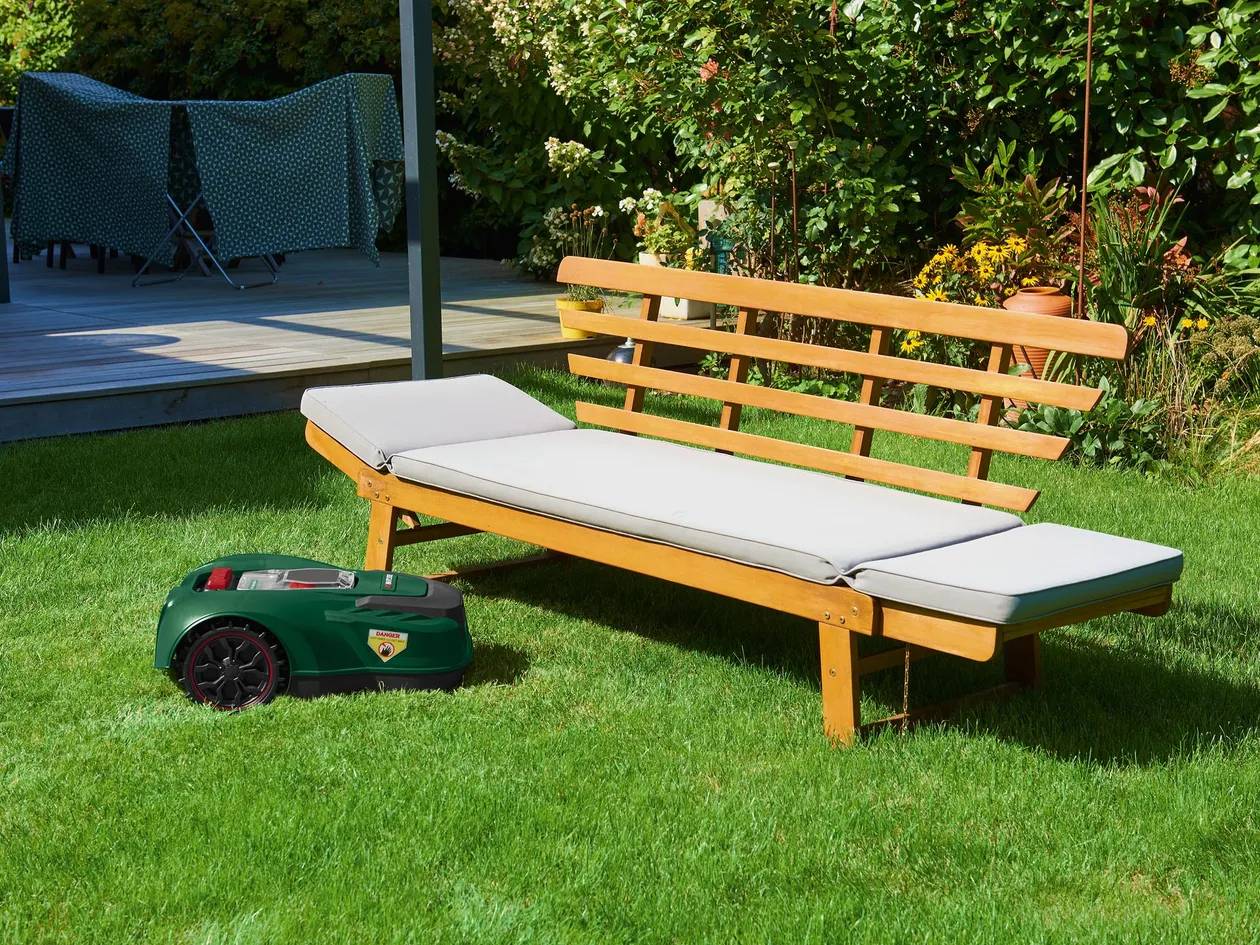 Recognises obstacles
Obstacles are recognised and avoided via safety sensors.
 Super quiet in operation
The particularly quiet electric motor means you have peace and quiet in the garden.
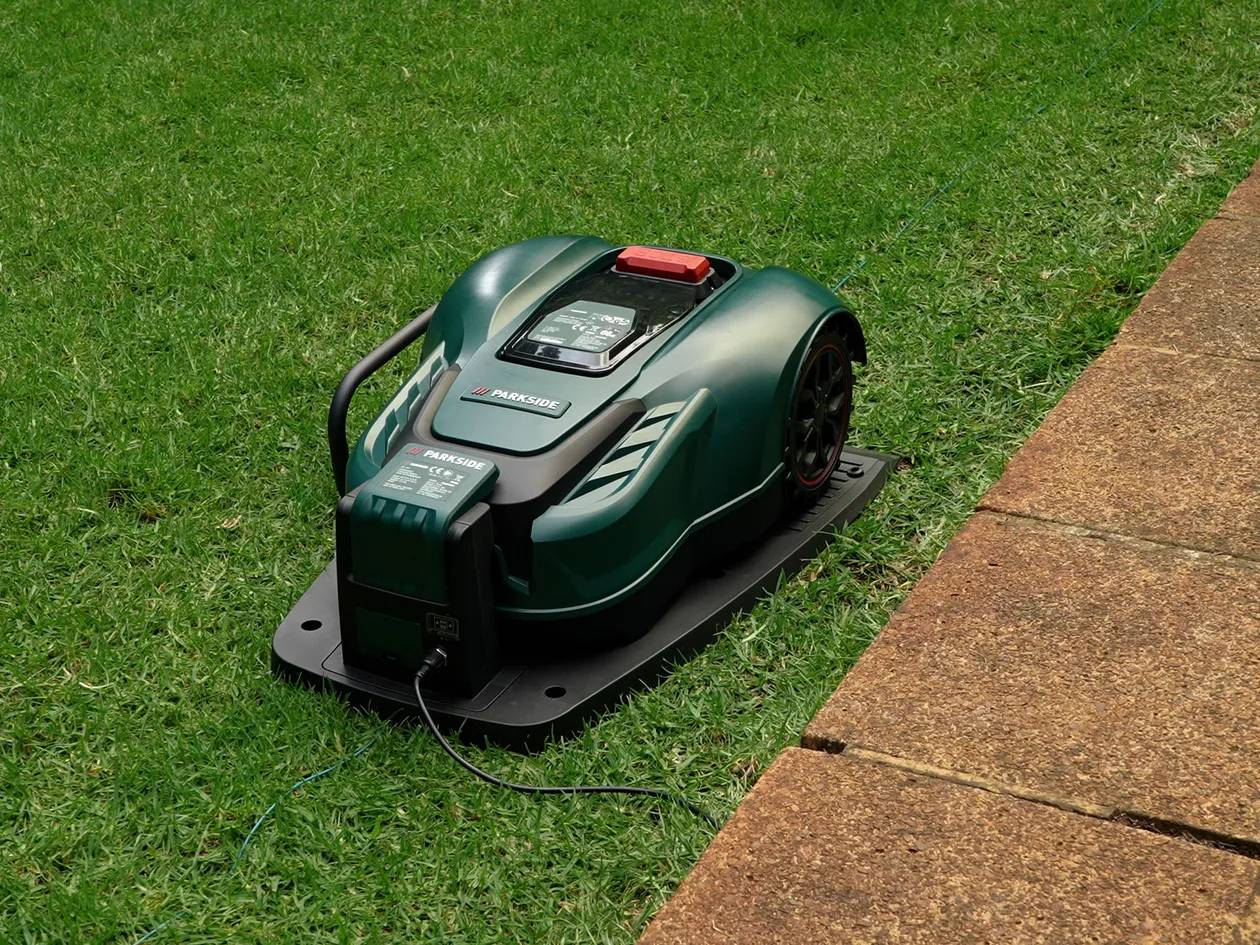 Charges automatically
The Robot Lawn Mower automatically returns to the charging station for charging.
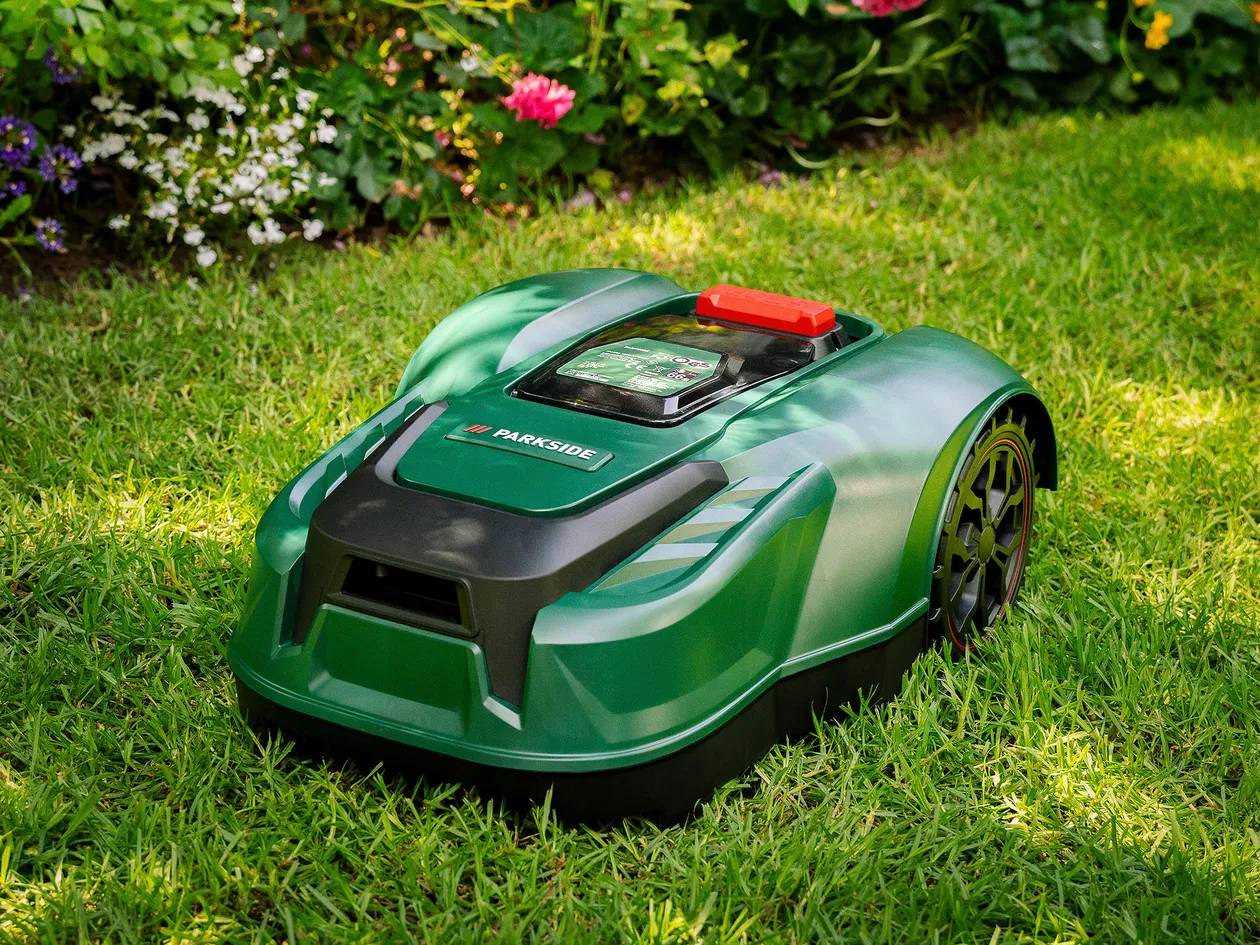 Various mowing modes
From the entire garden to selective mowing: choose your mode.
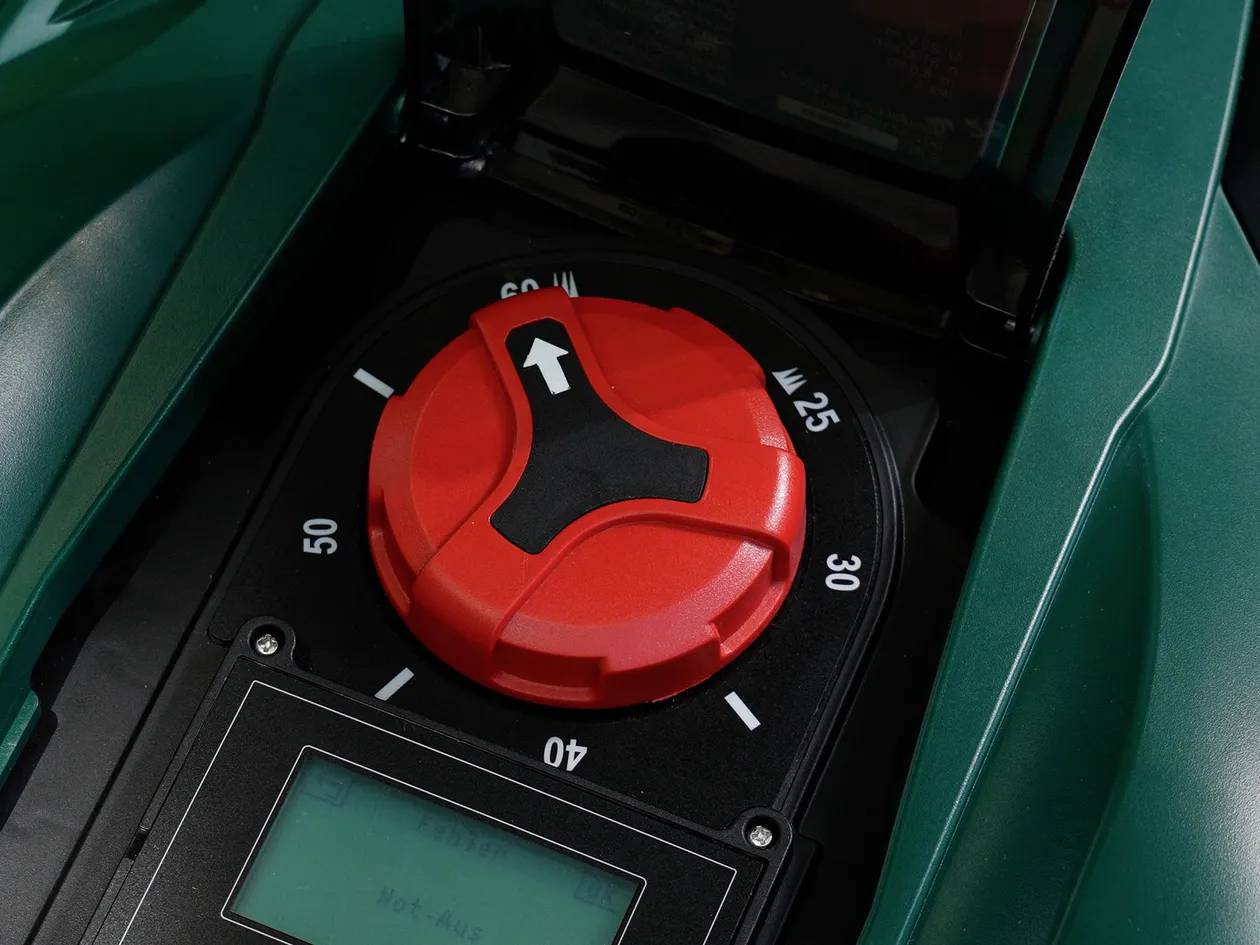 Adjustable cutting height
Depending on the model, you can set the cutting height of the lawn between 25-60mm.
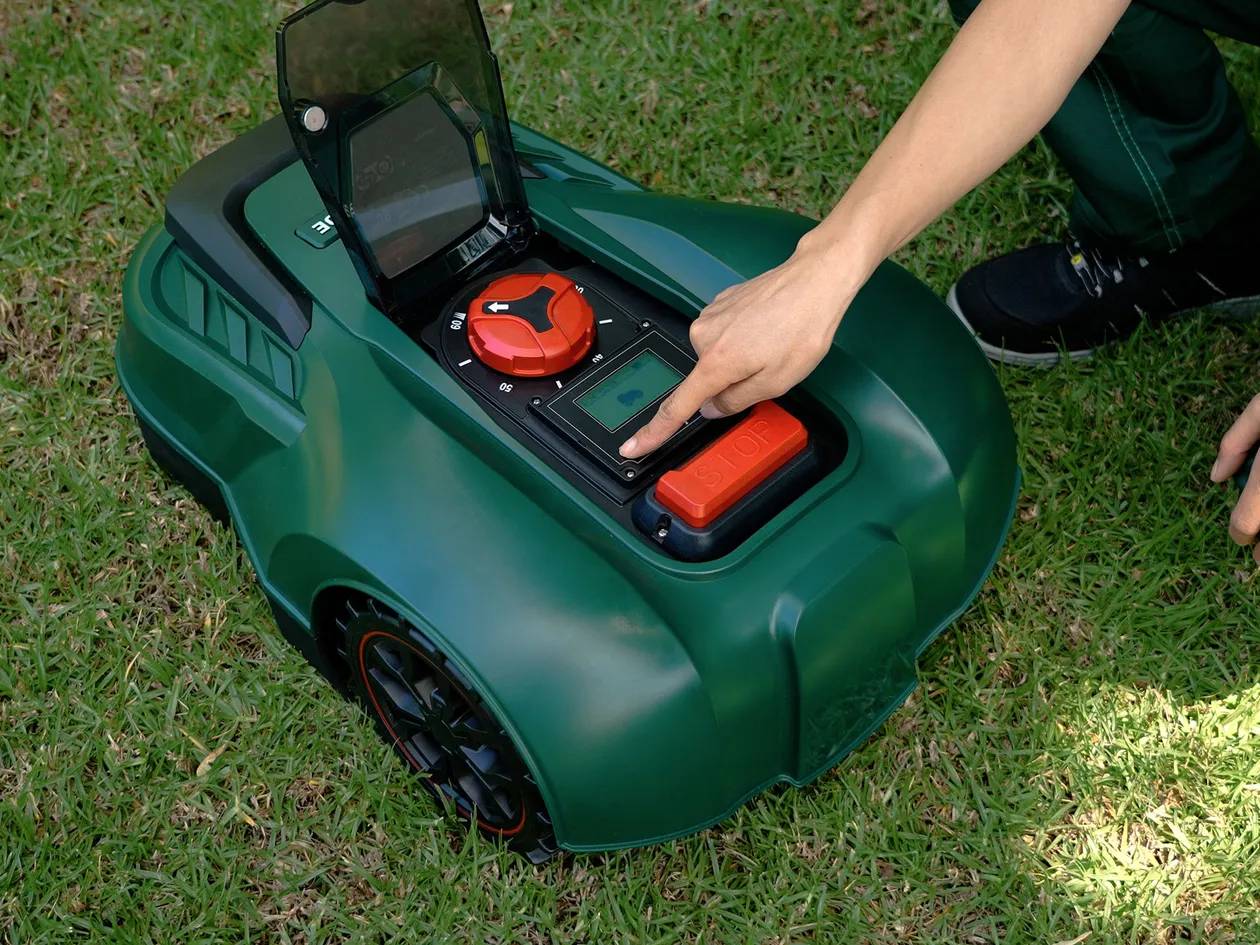 With theft protection
A PIN code protects against unauthorised switching on or theft.
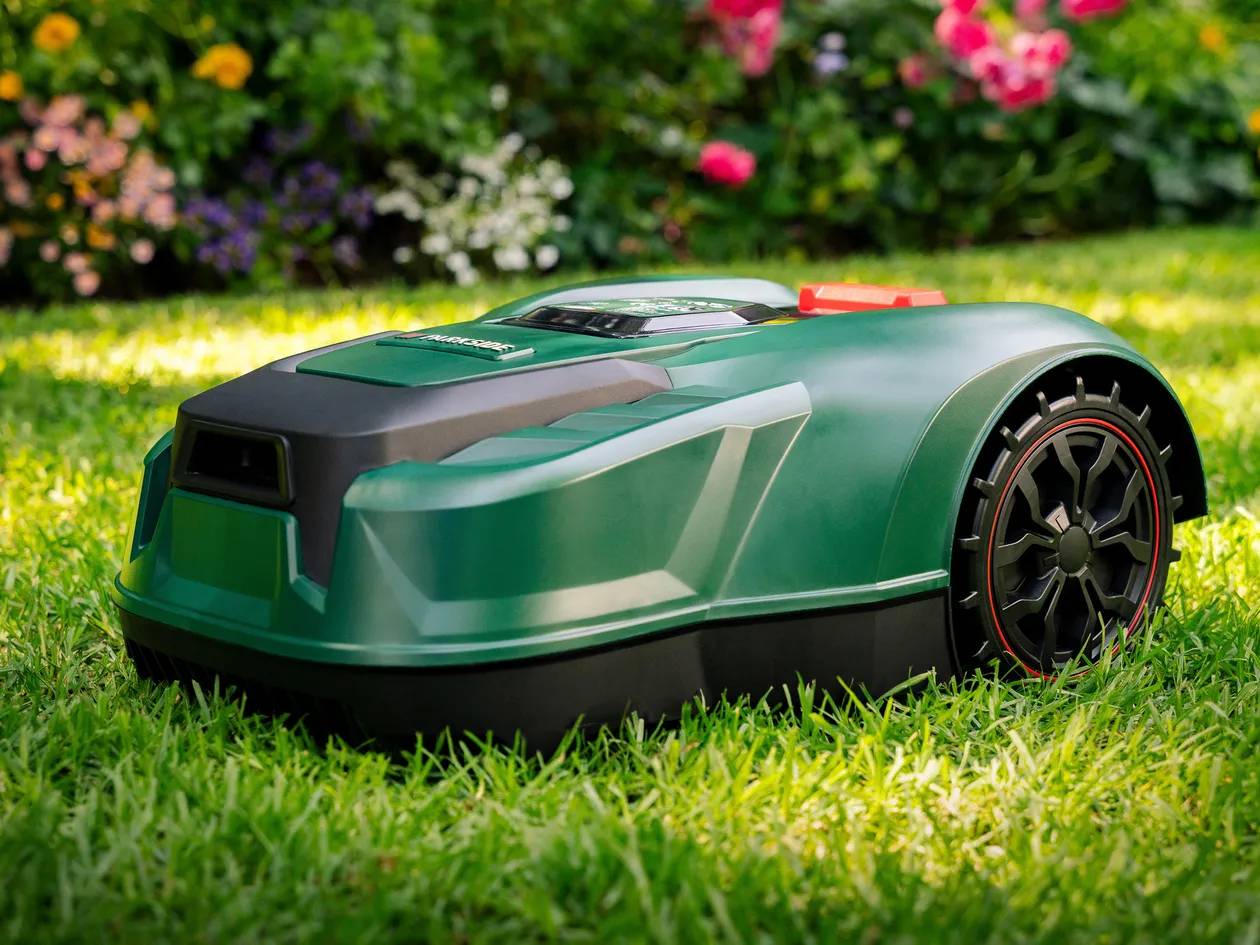 Long service life
The brushless motor is particularly robust against wear.
20V Robot Lawn Mower FAQs

Switching on the lawn mower
1. Press and hold the START button for approx. 3 seconds until the display lights up.
2. Set the desired language. Select with the arrow buttons and confirm the selection with the OK button.
3. Set the date and time with the arrow buttons.
Confirm the selection with the OK button. The individual positions can be navigated with the OK button
Changing the PIN
1. If necessary, open the cover.
2. Unlock the display with the 4-digit PIN. (preset is 0000 or 1234)
3. Press the OK button to enter the main menu.
4. Use the arrow buttons to select “Settings”.
5. Confirm the selection with the OK button.
6. Use the arrow buttons to select “Change PIN”.
7. Confirm the selection with the OK button.
8. Enter the old 4-digit PIN. If you have entered the PIN incorrectly, use the back button to return to the PIN entry.
9. Now enter a new PIN.
10. Confirm the new PIN by entering it again. If you have entered the PIN incorrectly, return to the PIN entry with
the back button and repeat steps 8 and 9.
11. You can recognise a successful change when “Successful!” appears on the display. Return to the main menu with
the back button.
The warranty is for 3 years which includes 1-for-1 replacement service. A replacement item or replacement part will be sent to your address within 10 business days.
We recommend that you do not let your Robot Lawn Mower mow in the rain. This may result in an unclean cut, unnecessary soiling of the device and significantly increased wear. All our Robot Lawn Mowers are therefore equipped with a rain sensor and automatically return to the charging station when it rains. If you want your Robot Lawn Mowers to drive despite the rain, you can deactivate the rain sensor in the settings.
Our Robot Lawn Mowers can also handle slightly uneven terrain. However, there are limits: Inclines, gradients or slopes must not exceed 47% (25°) for the PAMRS 1000 A1 and PAMR 500 A1 models and up to 27% (15°) for the PAMRC 250 A1.
Our Robot Lawn Mower are very quiet. Nevertheless, we recommend that you only run them during the day to protect small nocturnal animals and to avoid disturbing your neighbours.
Tap here for instruction manual
Robot Lawn Mower Video Tutorials

The 3 Steps To D.I.Y. Success
- 1
Step 1 - Choose your tool
Whether you're drilling, cutting, strimming or sanding, pick the right Parkside tool for you.
- 2
Step 2 - Pick your battery
Power up and crack on with our range of Parkside batteries, available in different sizes to suit your tool's needs.
- 3
Step 3 - Pick up a charger
Out of juice... no problem. 'You got this!'. Our chargers will get you back up and running.

You Got This!
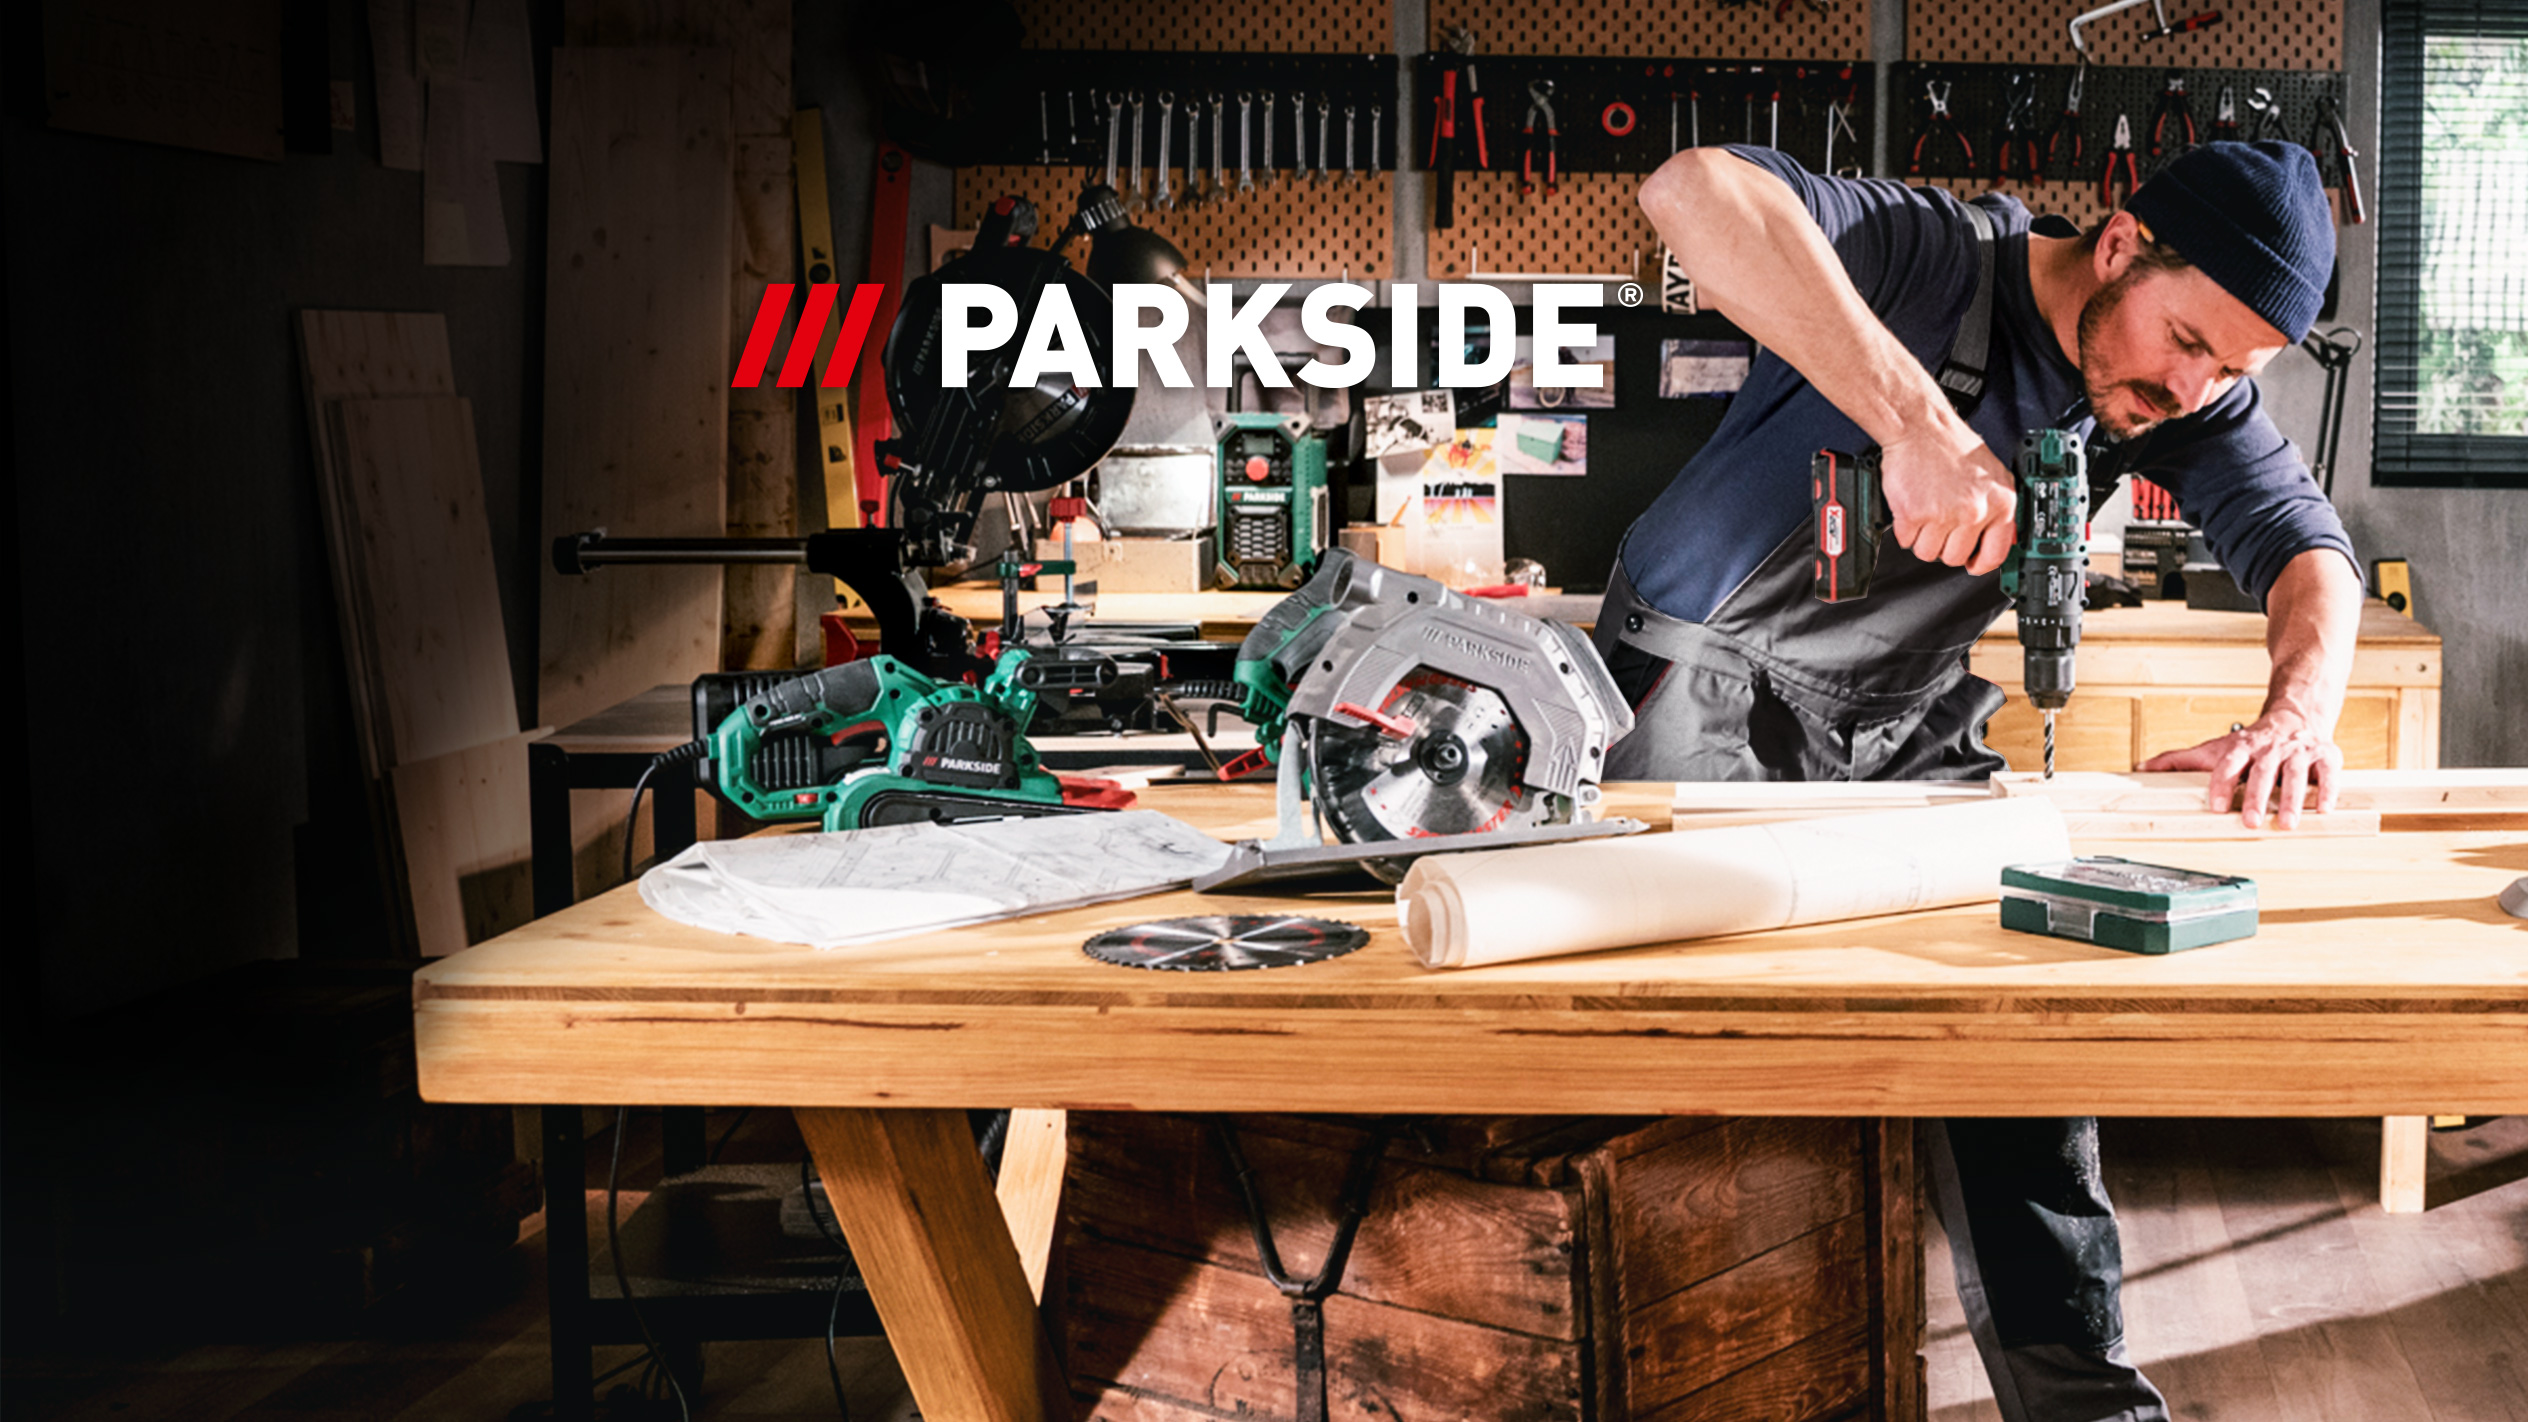
Our New Parkside Ambassador!

Tutorials

How to Build a Coffee Table
Check out our Parkside Tutorial to see how to build a Coffee Table with Parkside
See below for step by step instructions

How to Build a Shelf
Check out our Parkside Tutorial to see how to build a Shelf with Parkside
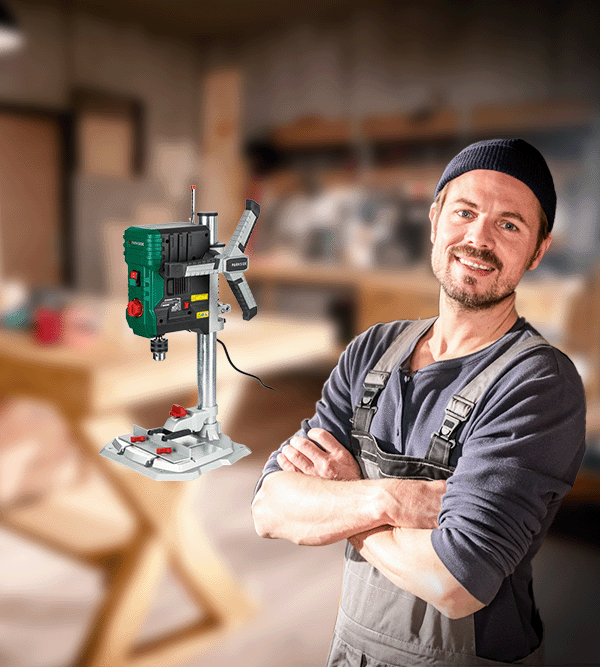
How To Use The Parkside Pillar Drill

How To Use The Parkside Plasma Cutter
Parkside at a Glance
 High-quality, hard-wearing materials
 Unbeatable value for money
 Easy to use and high safety standards

Parkside does every job
The right tool for every occasion: with PARKSIDE devices, your workshop is equipped for every project.
Because our range includes all types of power tools and, of course, a wide range of accessories.
PARKSIDE not only offers a variety of devices, but is also a reliable helper for your next DIY project through strict safety and quality controls. The tools are so popular because of their excellent price-quality ratio and high performance level in the DIY sector.
Always at maximum power
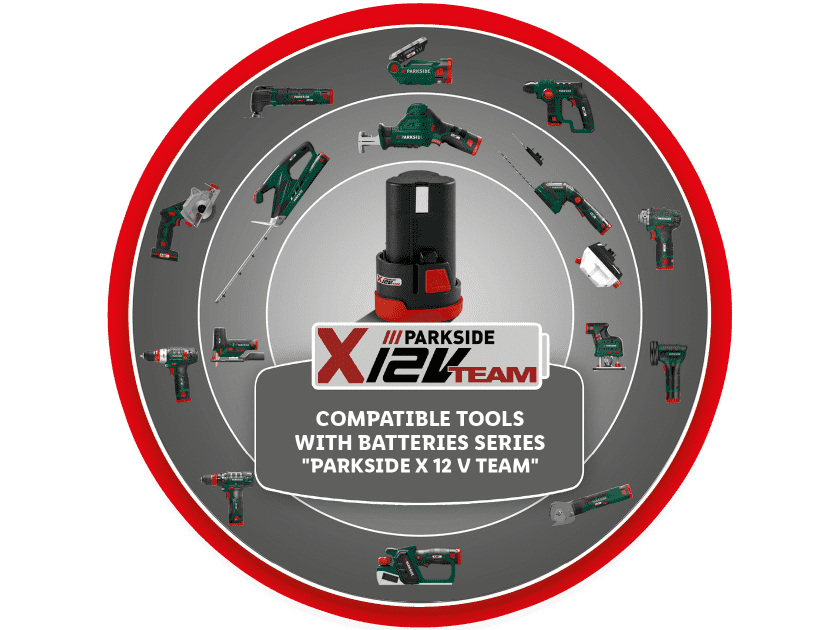
With the PARKSIDE battery family, even the most difficult daily tasks can be handled easily. Batteries for all tools, from drilling to cutting. Just charge up and off you go. Great performance combined with cordless freedom for your next project.
If you need to move around the house smoothly and large tools are out of place, you are in the right place with our high-performance electric tools from the PARKSIDE X 12V Team series. A picture can be hung up quickly with the Cordless Drill, no edge of the room is too narrow for our Angle Grinder and if you run out of charge, the charger is right there.

To complete the basic equipment of your workshop and for more demanding jobs, you will find the perfect support in the PARKSIDE X 20V Team series. The large selection of precise and flexible electrical tools such as the Cordless Impact Wrench or Paint Spray Gun will not leave you dissatisfied
Be the first to know when Parkside is in stores!
Shhh keep this to yourself, but did you know you can get our weekly offers direct to your inbox? Subscribe to our bi-weekly newsletter to be the first to see offers, middle aisle bargains, new products and more
Click here to sign up to our newsletter!

