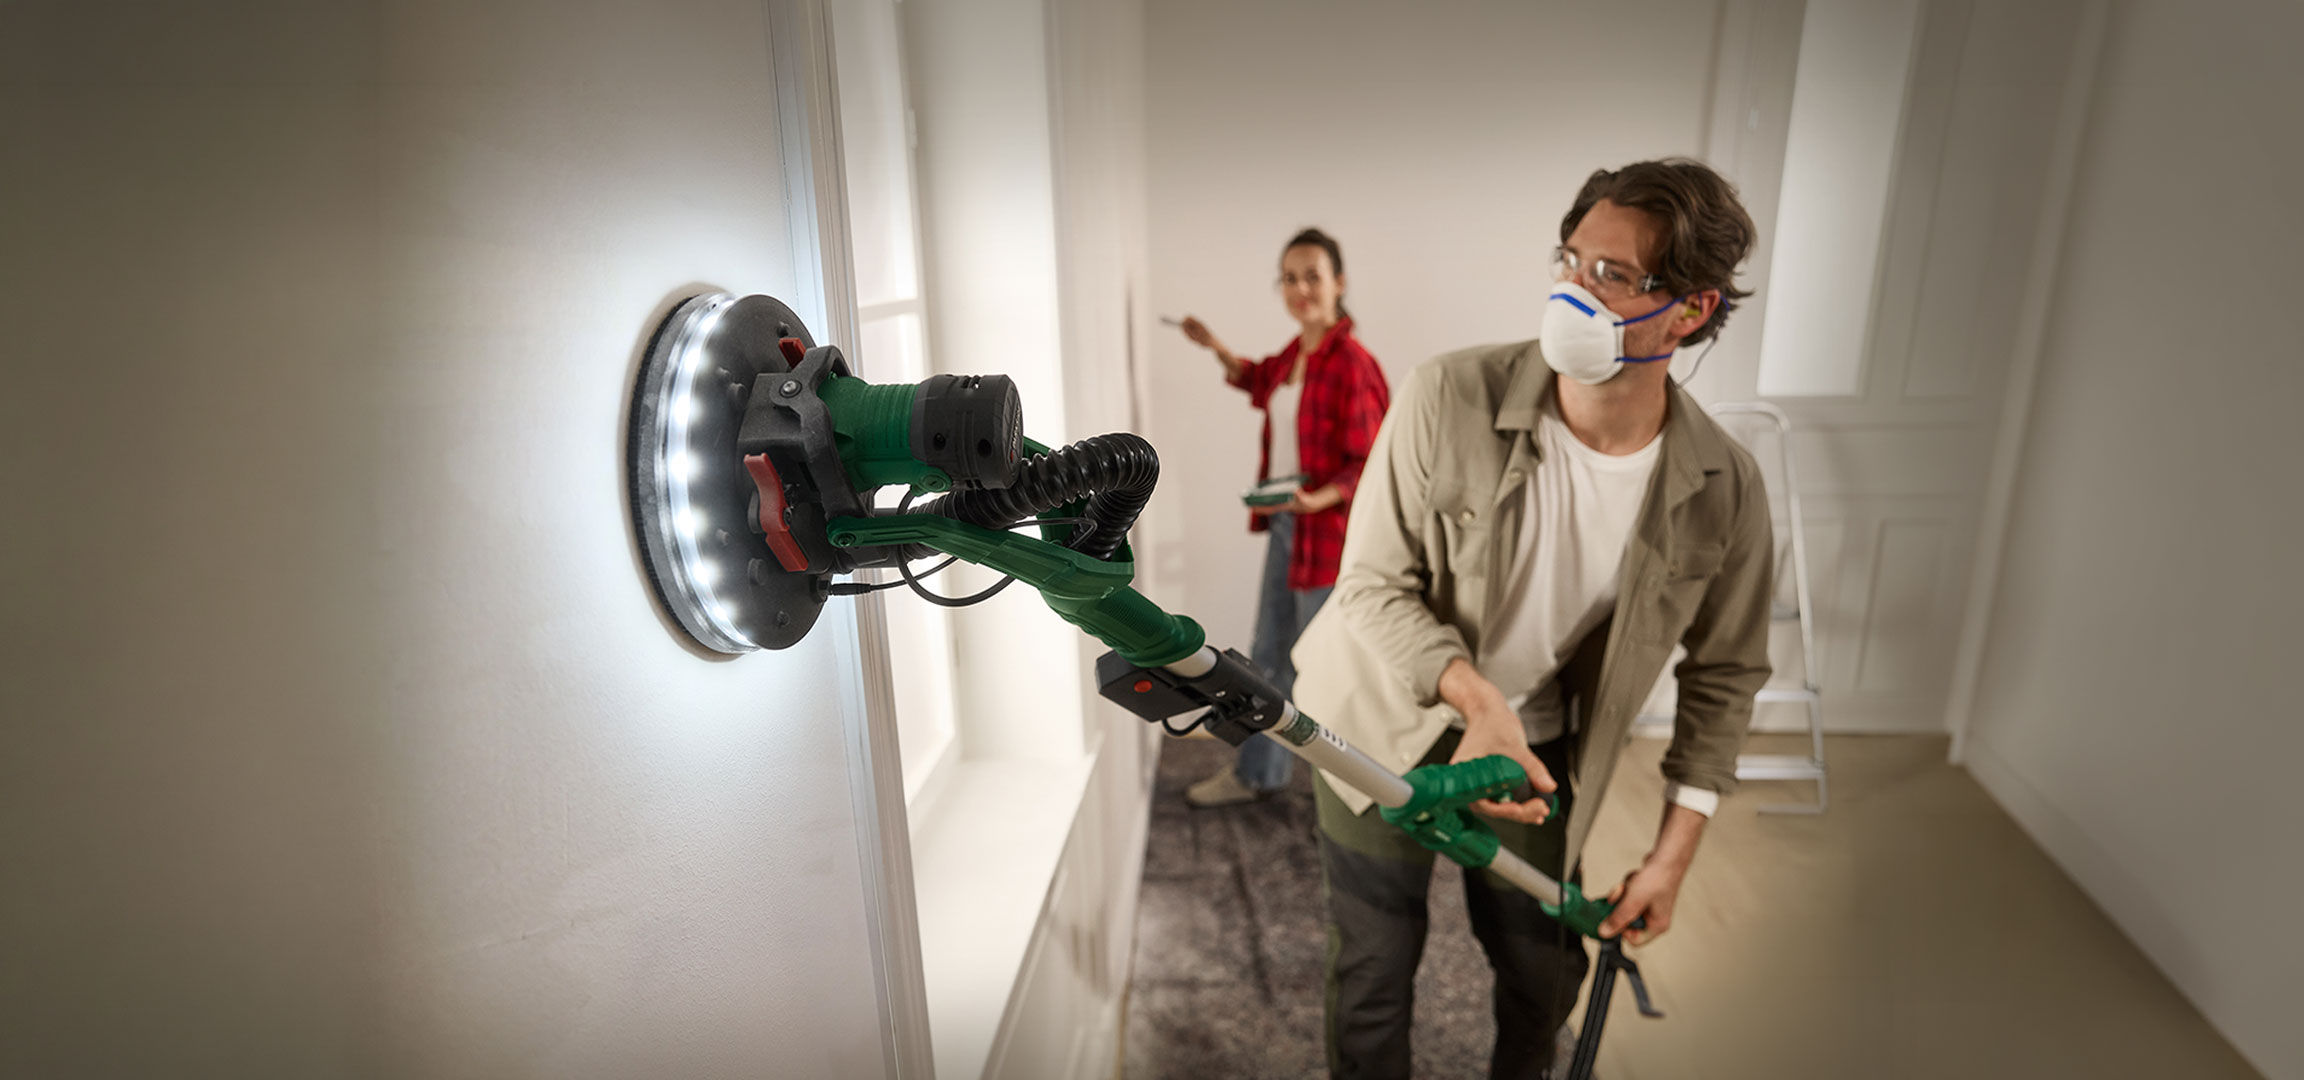
Sanding walls: How it's done
Tired of scraping off stubborn bits of wallpaper or applying filler unevenly? There's a better way! We'll show you how to get super-smooth results in no time and what you need to look out for.
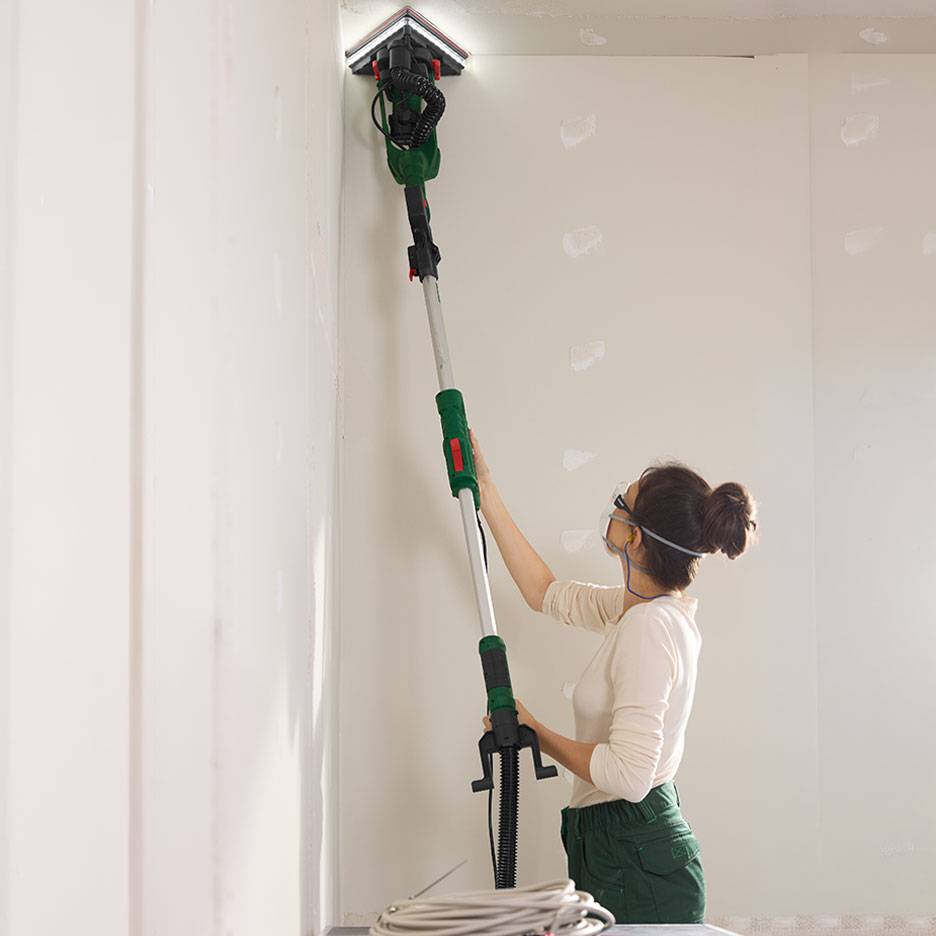
Why would I need to sand a wall?
When you remove old plaster or wallpaper from a wall, small remnants often remain. It is essential to remove such irregularities so that the new wall covering adheres properly and the surface is smooth.
You should also sand the wall after filling drill holes or repairing minor cracks. This ensures that the repaired areas are no longer visible after painting.
Which is best: sanding walls by hand or by machine?
To sand walls, you need a sanding machine or manual sanding tools, along with the appropriate abrasive.
A wall sander (also known as a drywall sander) is the best choice. Available as a ceiling or long-reach model, it is suitable for high walls and even ceilings.
Of course, you can also use a sanding block and sandpaper. While sanding by hand is laborious for large areas, it is a viable option for touching up small spots.
Top tip: For removing stubborn paint, wallpaper and adhesive residue, we recommend using coarse-grit sandpaper (< P80). For an extra-smooth finish, opt for a fine grit of P240 or higher. You can find out more in our guide to sandpaper.
Sanding a wall: How-to & Tips
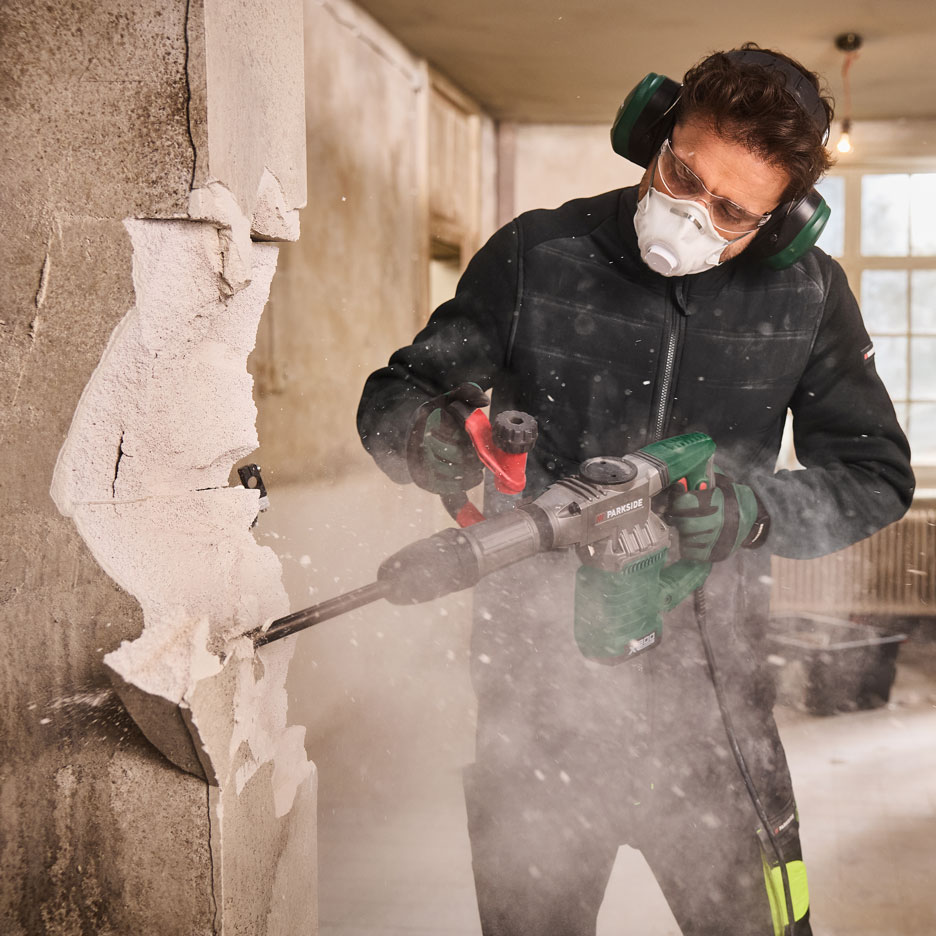
Before you get started, make sure you put on safety goggles and a dust mask. You should also protect your furniture by covering it carefully, as sanding walls, especially those with lime-cement plaster, can create a lot of dust. Then, follow these four simple steps:
Step 1: Preparation
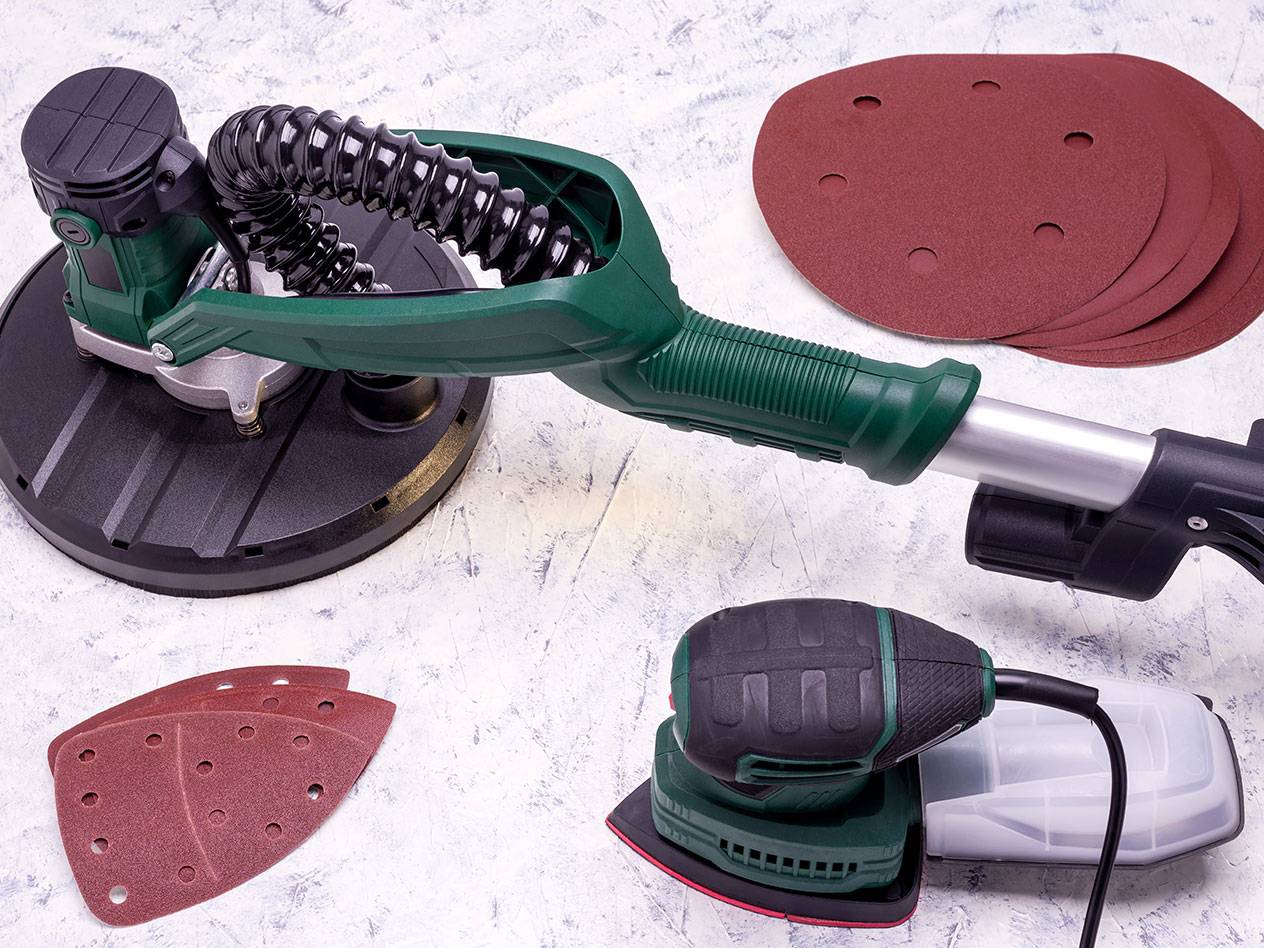
Make sure the plaster is completely dry so it doesn’t get damaged when sanding the wall. Attach sandpaper to your drywall sander and connect it to your vacuum cleaner, if applicable.
Step 2: Sanding
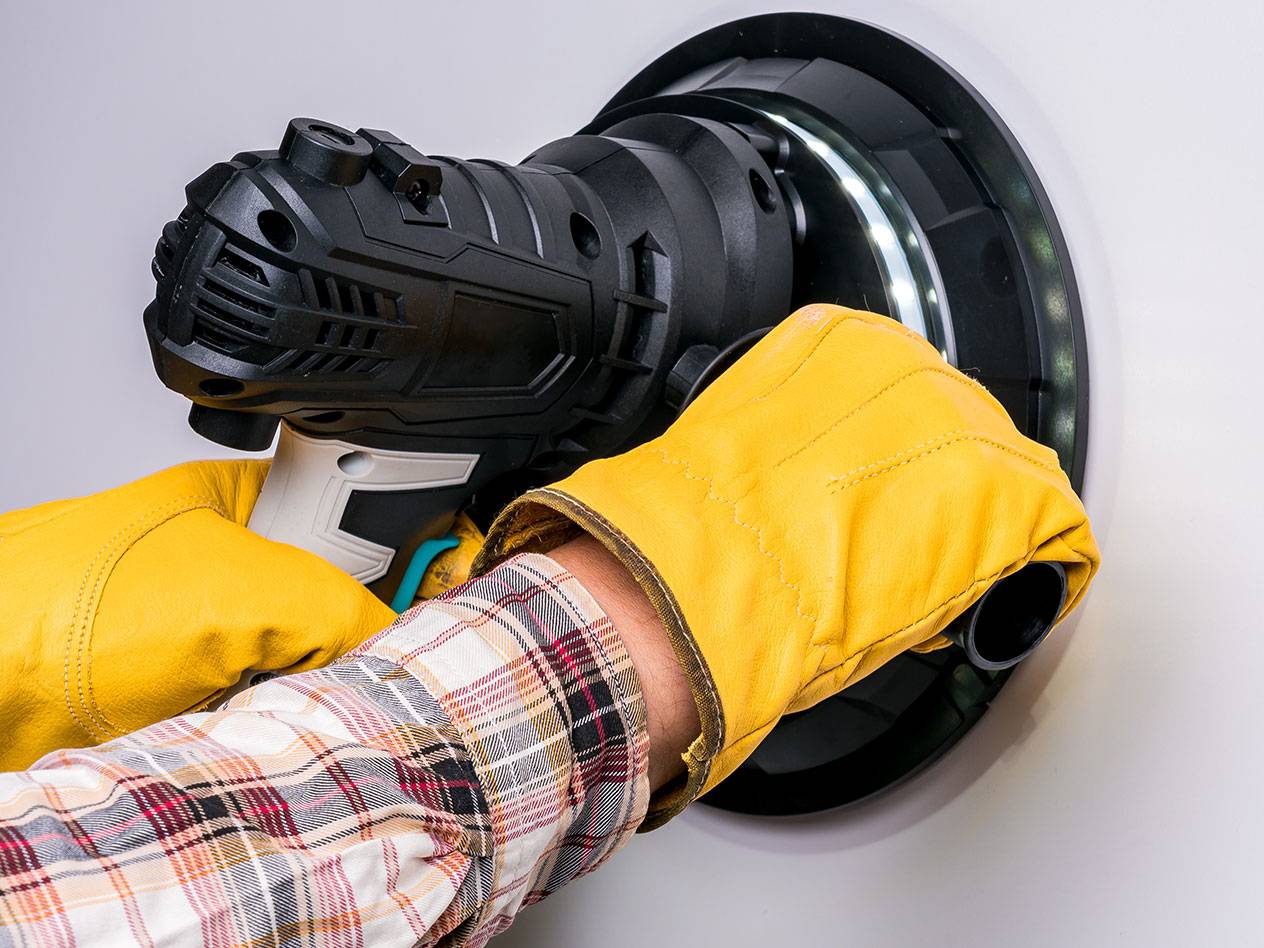
Position the sanding disc against the wall and begin sanding. Do not apply excessive pressure or use an excessively high speed; high speed is only necessary if the wall material is difficult to sand. Move the sander evenly across the wall surface.
Top Tip: You can use the sidelight trick to check if the wall is smooth. Shine a bright lamp along the side of the wall. Even the smallest bumps will cast a shadow, and you'll see immediately where you need to touch up.
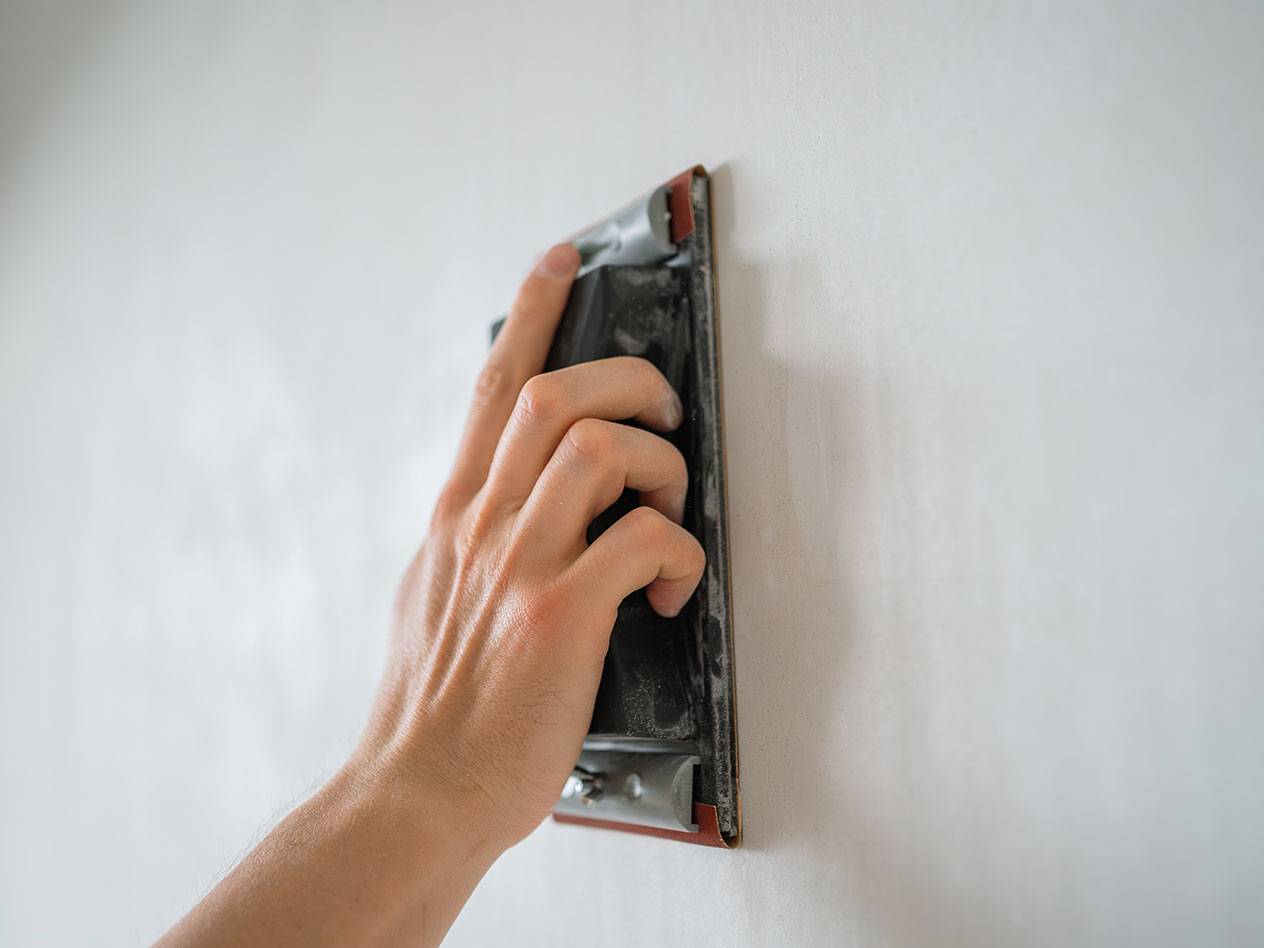
Step 3: Finishing touches (optional)
If necessary, you can smooth the surface further. Attach a fine-grit sanding disc to the pad and sand again as described in Step 2. You may need to work by hand on corners and edges, as the round sanding pad cannot reach these areas.
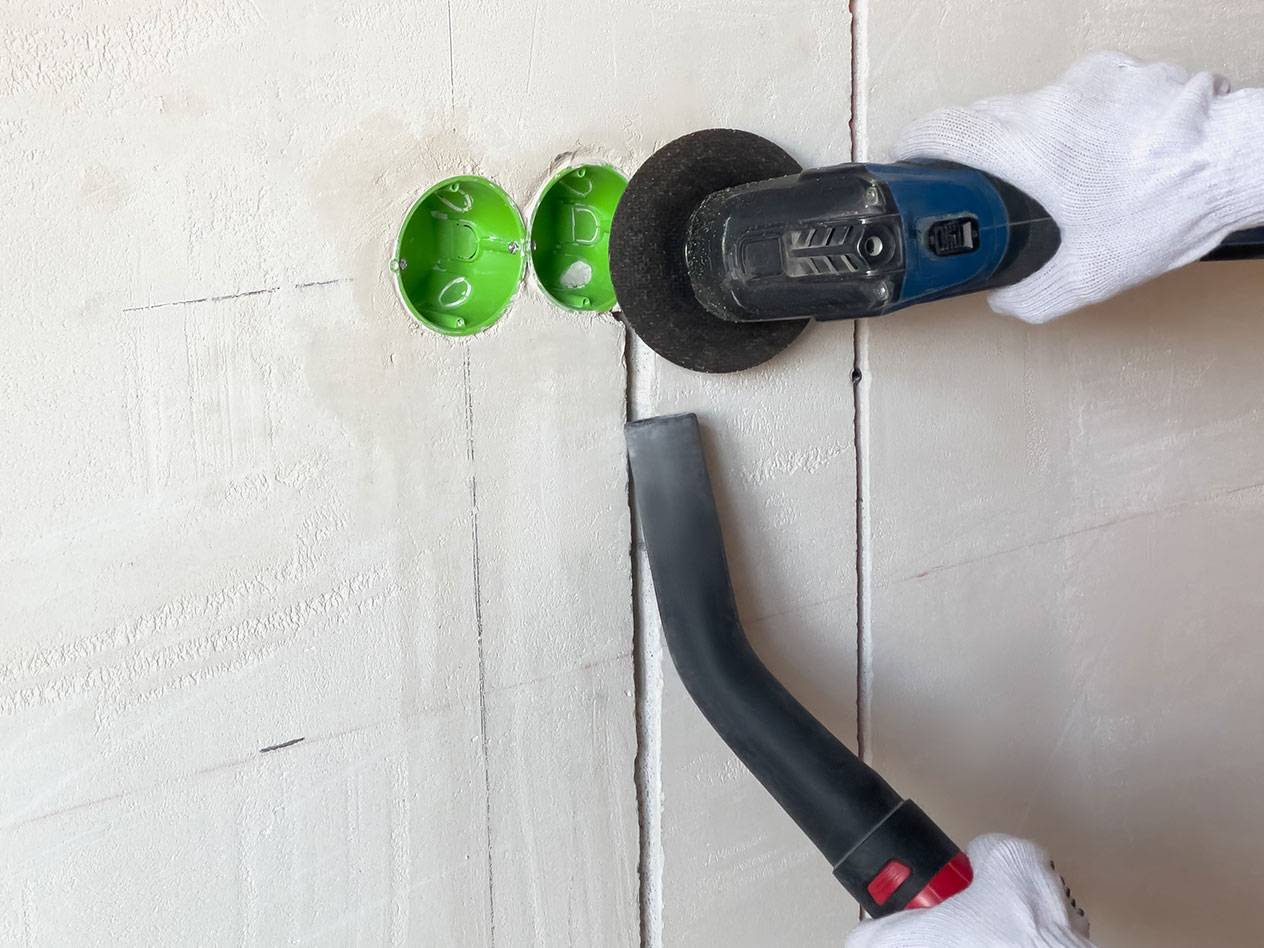
Step 4: Cleaning
Even when using a dust extraction system, sanding walls without creating dust is virtually impossible. Remove the dust using either a vacuum cleaner with a brush attachment or a wallpaper brush. You can then proceed to hang wallpaper or paint.
DIY Tip: Find out how to work on other materials like wood, even with no experience, in our comprehensive sanding guide.