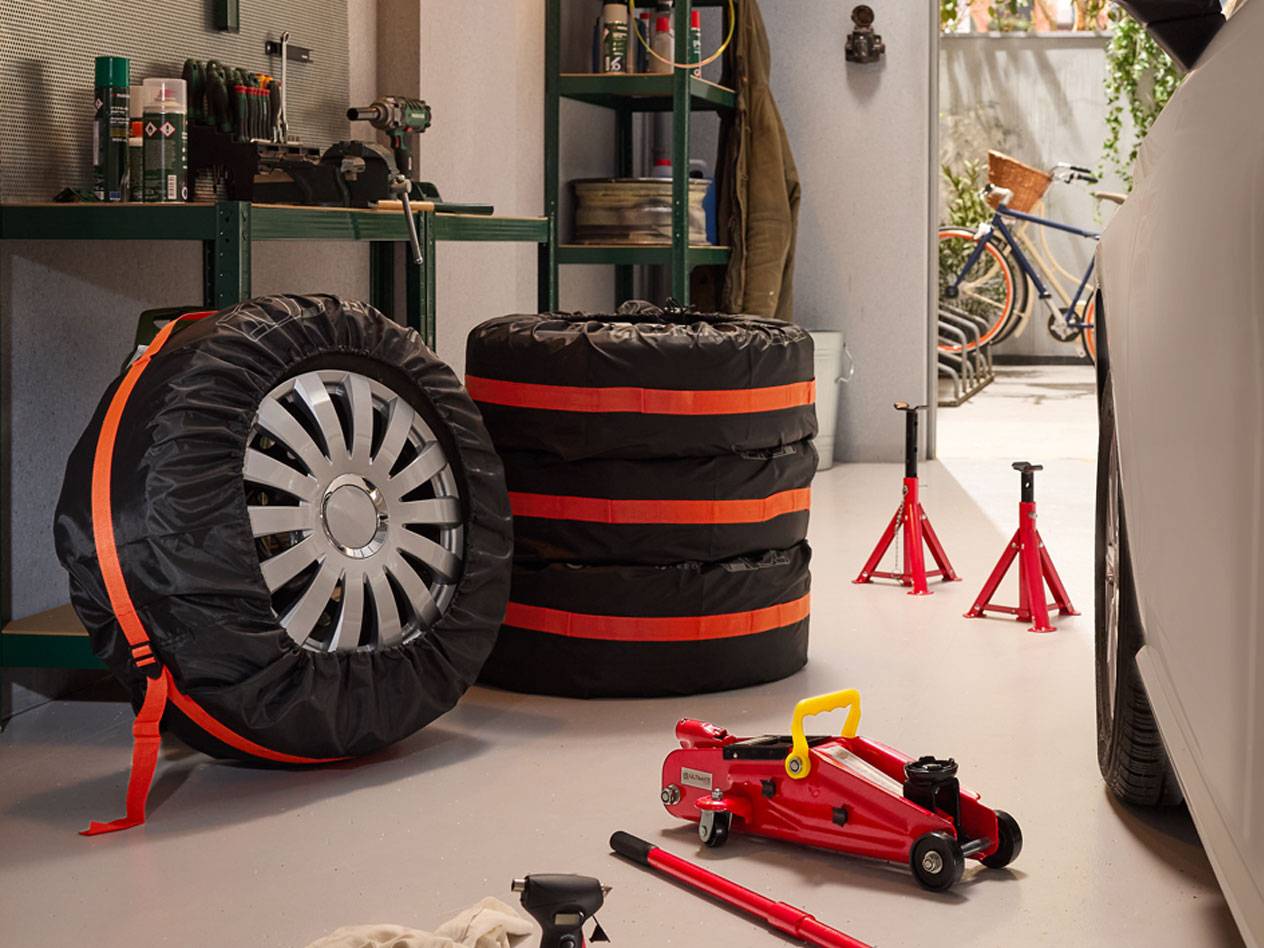
Changing Your Tyres at Home: Here's How
If there's no tyre-fitting service nearby, you can easily do the job yourself. From winter to summer tyres or for a quick puncture repair, we'll show you how to change your car tyres.

Changing Your Car Tyres: What You'll Need
It’s unlikely you have a professional tyre changing machine at home, but it's still worth checking if you have the right professional-grade tools for the job. When it comes to changing tyres, there's no room for error – after all, you want to be safe on the road. Along with a set of tyres, you will need:
- Wheel brace
- Car jack
- Torque wrench
- Wire brush for cleaning
Top tip: Rotate your tyres regularly – from back to front, front to back, or diagonally. This ensures they wear down evenly. Simply use chalk to mark the tyre's original position. If tread depths differ, the tyres with the deeper tread should always be fitted to the rear axle.
Changing Your Tyres: A 3-Step Guide
With a little experience, changing your tyres is straightforward. Even so, you should always have your vehicle's owner's manual to hand. This will tell you where to safely place the jack, the correct torque for the wheel nuts, the right tyre pressure, and more. Your vehicle is a complex piece of machinery, and safety is the top priority. That's why you should always follow the manufacturer's instructions.
With a bit of skill and precision, the job can be done quickly. However, if you don't feel confident taking on the task or you don't have the right tools, it's best to book your car in for a tyre change at a local garage.
 Step 1: Preparation
Prüfe die neuen Reifen auf Beschädigungen und achte auf die Profiltiefe – mindestens 1,6 mm, bei Winterreifen mindestens 4 mm. Stelle dein Fahrzeug sicher auf. Ziehe die Handbremse an und lege den ersten Gang ein (Automatik auf Position P).
 Step 2: Remove the tyres
Entferne die Radabdeckungen und lockere die Radbolzen kreuzweise mit dem Radkreuz. Mache nicht mehr als eine 1/4-Umdrehung. Setze den Wagenheber an und hebe das Auto so weit an, dass sich das Rad leicht bewegt. Drehe die Radbolzen heraus und ziehe das Rad ab.
 Step 3: Fit the tyres
Reifen auf Radnabe setzen, Felgenlöcher ausrichten und über Kreuz fixieren. Wagen ablassen, Schrauben per Drehmomentschlüssel festziehen. Luftdruck prüfen (Kompressor/Tankstelle). Direktes RDKS muss beim Reifenwechsel vom Profi neu angelernt werden.
Pro Tip: When you're changing your tyres, it's a good time to clean the wheel arches too. This will remove dirt and build-up that can lead to rust. It's also the perfect opportunity to clean your brakes. Use a specialist cleaner for this and remove any rust with a wire brush. If you spot any defects or major wear and tear, you should consult a professional.
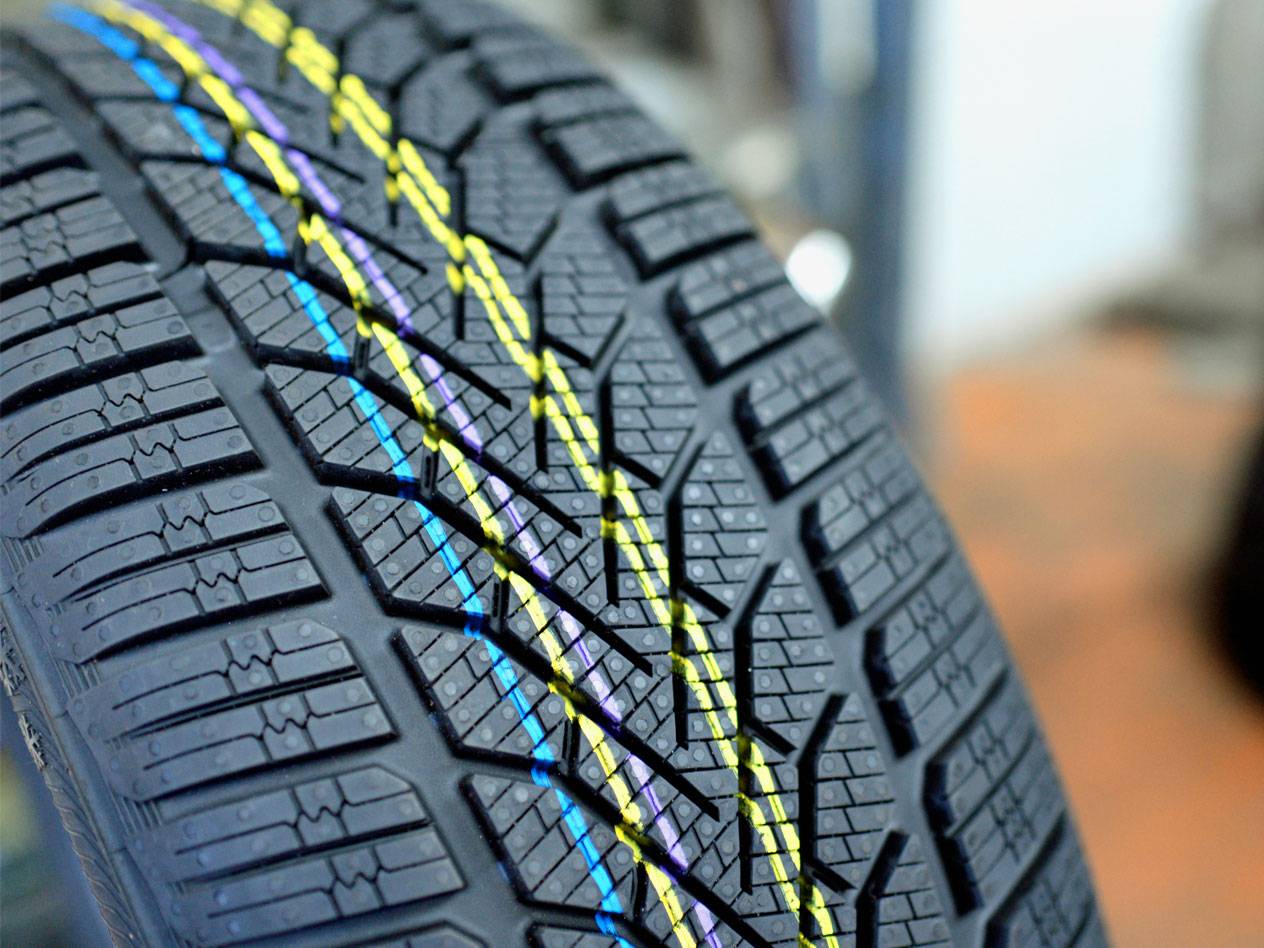
How to store your tyres correctly
To make sure you can rely on your winter or summer tyres for the next changeover, it's important to store them correctly. This prevents damage and dirt. Here’s what you need to do:
- Inflate the tyres to about 0.5 bar above the manufacturer's recommendation. This way, it won't matter if the tyres lose a little air during storage.
- Keep them in a dry place, protected from light. If you're using a garage, for example, make sure they are not exposed to frost.
- If you are storing the tyres without rims, they must be stood upright and rotated every few weeks. This helps them keep their shape. Alternatively, you can stack them – but no more than four high due to the pressure on the bottom tyres.