Drilling: tips and tricks for beginners
Anyone can drill a hole – even with no previous experience! With us, you'll learn what's important when drilling and which tools you need.
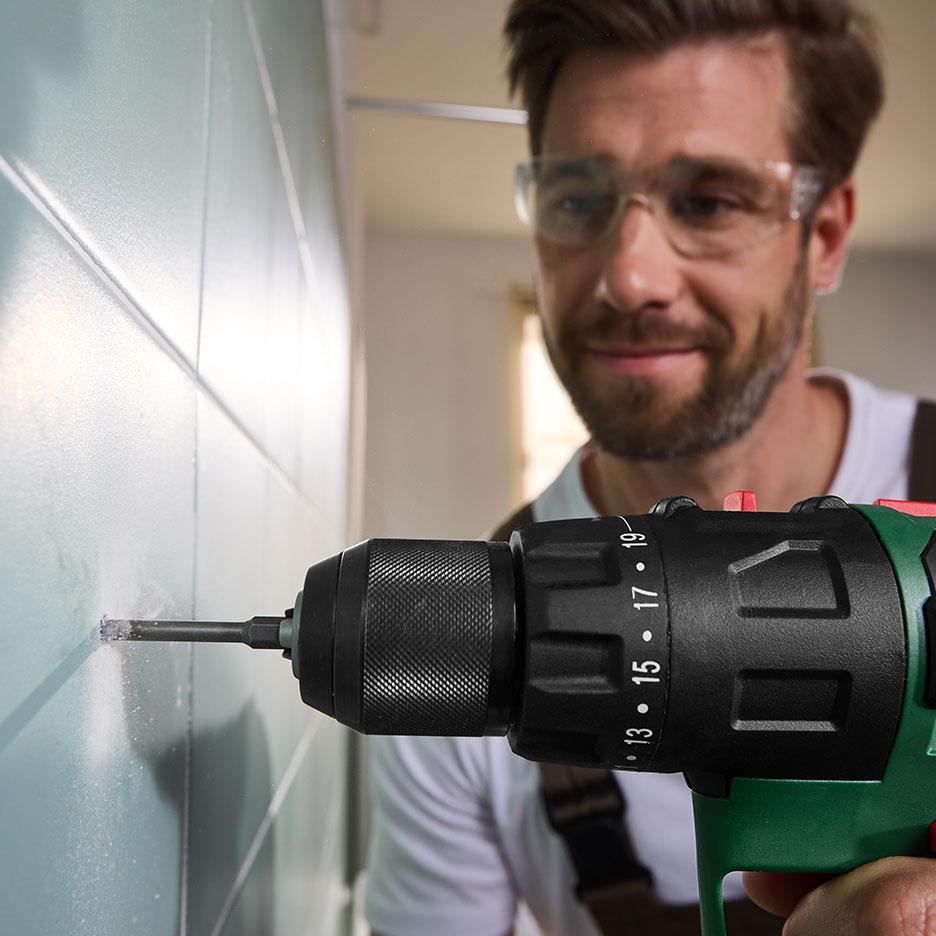
10 tips for drilling
1. Always check for power cables and water pipes!
Whether you want to drill small or large holes in walls, you must avoid hitting cables or pipes at all costs. The safest way to detect them is with a multi-detector or a wall scanner. Be extra careful around sockets, light switches, lamp cables and taps.
2. Choose the right drill and drill bit for the material
Drilling holes in tiles is quite different from drilling into wood, concrete or metal. With the right combination of drill and drill bit, you'll ensure precise results effortlessly. Here is an overview:
Material | Drill Bit | Standard Drill | Impact Drill / Rotary Hammer with Impact | Impact Drill / Rotary Hammer without Impact |
|---|---|---|---|---|
Wood | Wood Drill Bit | ✓ | X | ✓ |
Concrete | Concrete Drill Bit | X | ✓ | X |
Aerated Concrete & Plasterboard | Twist Drill Bit | ✓ | X | ✓ |
Plastic | Twist Drill Bit | ✓ | X | ✓ |
Metal | Twist Drill Bit | ✓ | X | ✓ |
Board Materials | Twist Drill Bit | ✓ | X | ✓ |
Glass & Tiles | Glass & Tile Drill Bit | ✓ | X | X |
Stone & Brick | Masonry Drill Bit (with Carbide Tip) | X | ✓ | ✓ |
3. Drill at the right speed
The ideal speed depends on the drill bit diameter, the type of drill bit and the material you are drilling into. Smaller drill bits require higher speeds, but trust your feel as well. The drill must be easy to control and you
should always start drilling slowly. Only increase the speed gradually until material is noticeably being removed.
4. Cool down properly
When drilling into hard materials such as concrete, the drill and drill bit heat up quickly. If your drill doesn't have a water-cooling system, let it cool down in the air every now and then.
5. Mind the drilling angle
Hold the machine at a 90-degree angle while drilling. Position the tool accurately, as you should never readjust the drilling angle mid-way, otherwise the drill bit can snap. If in doubt, start fresh.
6. Determine drilling depth and wall plugs
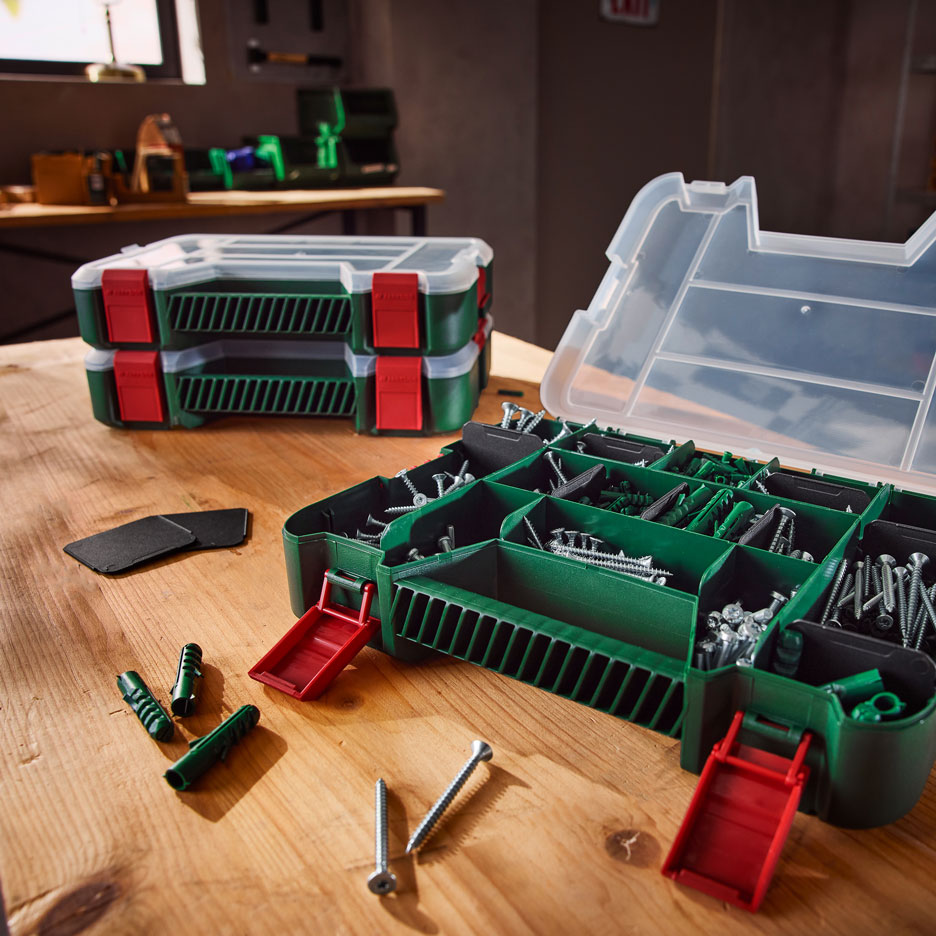
The wall plug helps you find the ideal drilling depth: place it alongside the drill bit and mark the spot where it ends. Use coloured insulating tape or masking tape for this. The hole must be deep enough to fit the entire length of the plug. Adding about half a centimetre extra room won't hurt.
7. Only use the hammer mechanism when necessary
Only use the hammer function of a rotary hammer or hammer drill when it is absolutely essential – for instance, when drilling concrete. Otherwise, the impact function can damage the material.
8. Prioritise safety
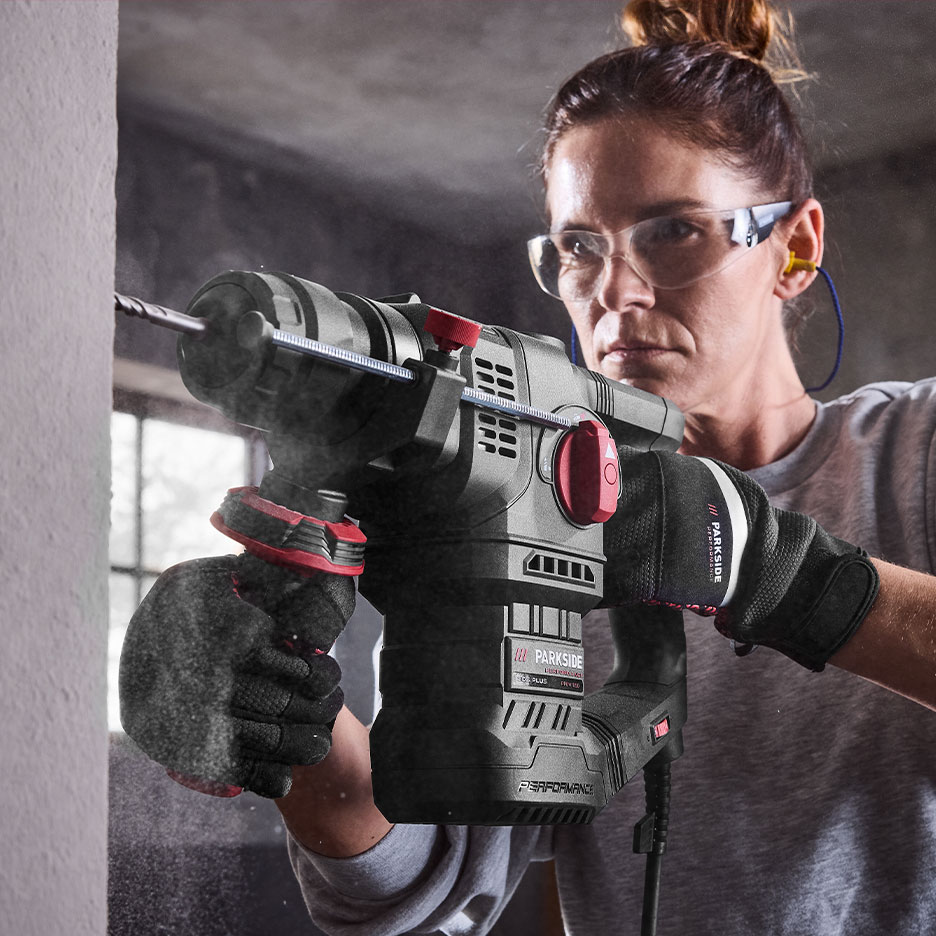
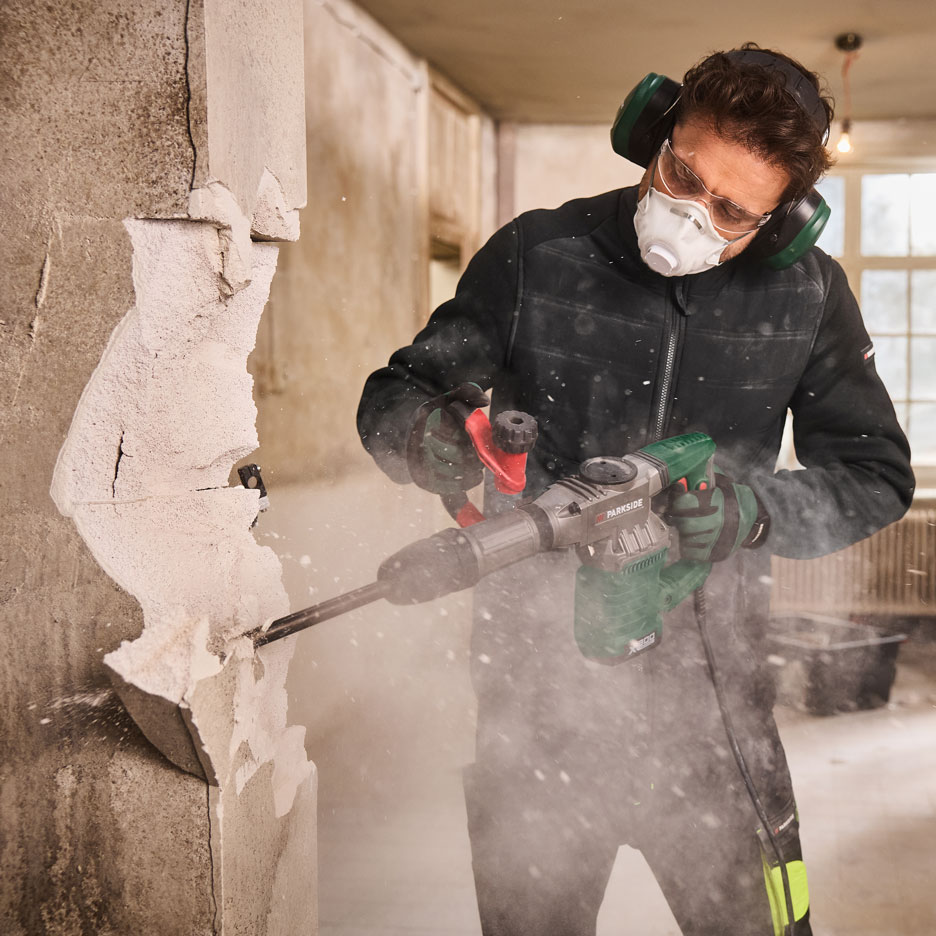
Drilling kicks up dust and splinters. Always wear safety goggles and a dust mask. Also ensure that long hair or loose clothing cannot get caught in the drill. Avoid wearing gloves when operating rotating power tools.
9. Catch the dust
If there are two of you drilling, one person can vacuum up the emerging dust directly at the drill hole. If working alone, stick an open envelope below the drill hole. If drilling into the ceiling, pop an empty yoghurt pot over the drill bit.
10. Prevent splintered drill holes
Sticking a piece of masking tape over the intended hole prevents the material from splintering as easily. This is especially recommended if you plan to drill into wood, ceramics or tiles. Also, always pull the drill bit out of the hole while it is still running.
Step-by-step guide: drilling correctly
Looking to drill holes at home or in your rented apartment? Here's our basic guide packed with top tips for beginners.
Step 1: Get your tools ready
Choose the right drill and drill bit for your material, and make sure you have the following to hand:
- Masking tape
- Tape measure
- Pencil or marker
- Spirit level
- Safety goggles
- Dust mask
Step 2: Find the drill location
Don't just eye it up – mark your drill holes using a tape measure and spirit level. Getting it precise is essential, especially when drilling multiple holes, or your shelf might end up wonky!
Step 3: Mark the drill hole
Once you've found the right spot, stick a piece of masking tape (around 4 cm wide) over it and mark the exact position with your pencil.
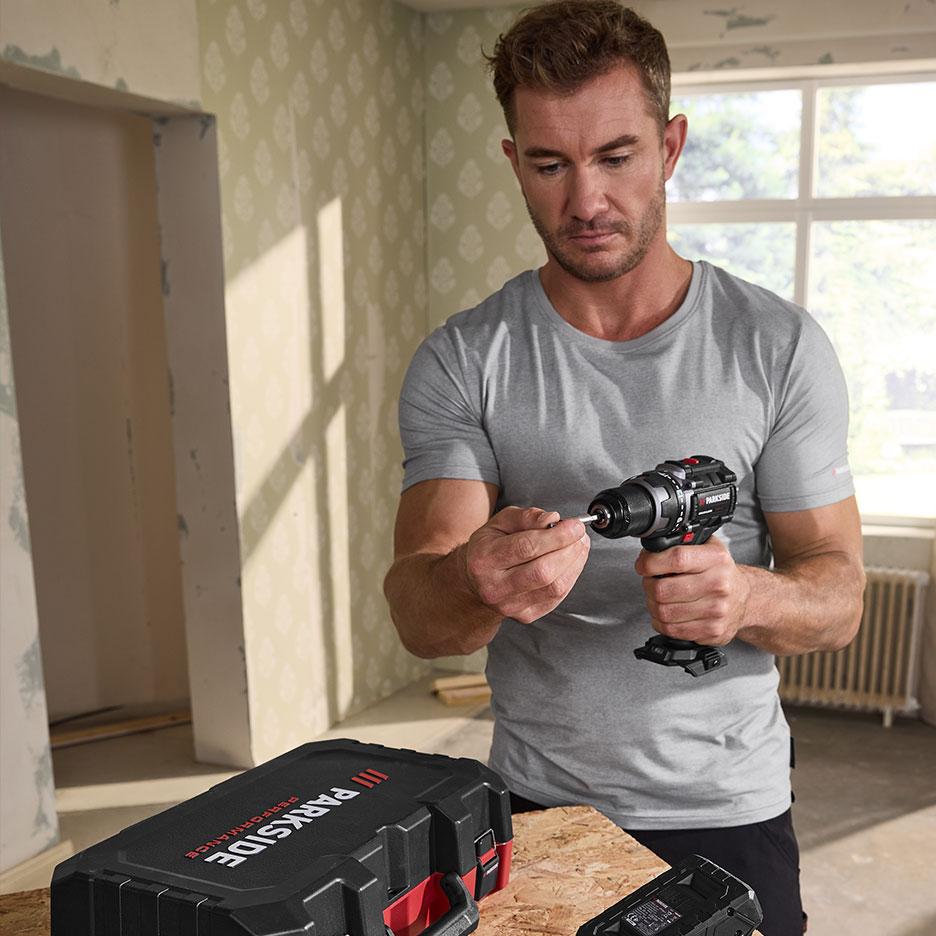
Step 4: Insert the drill bit
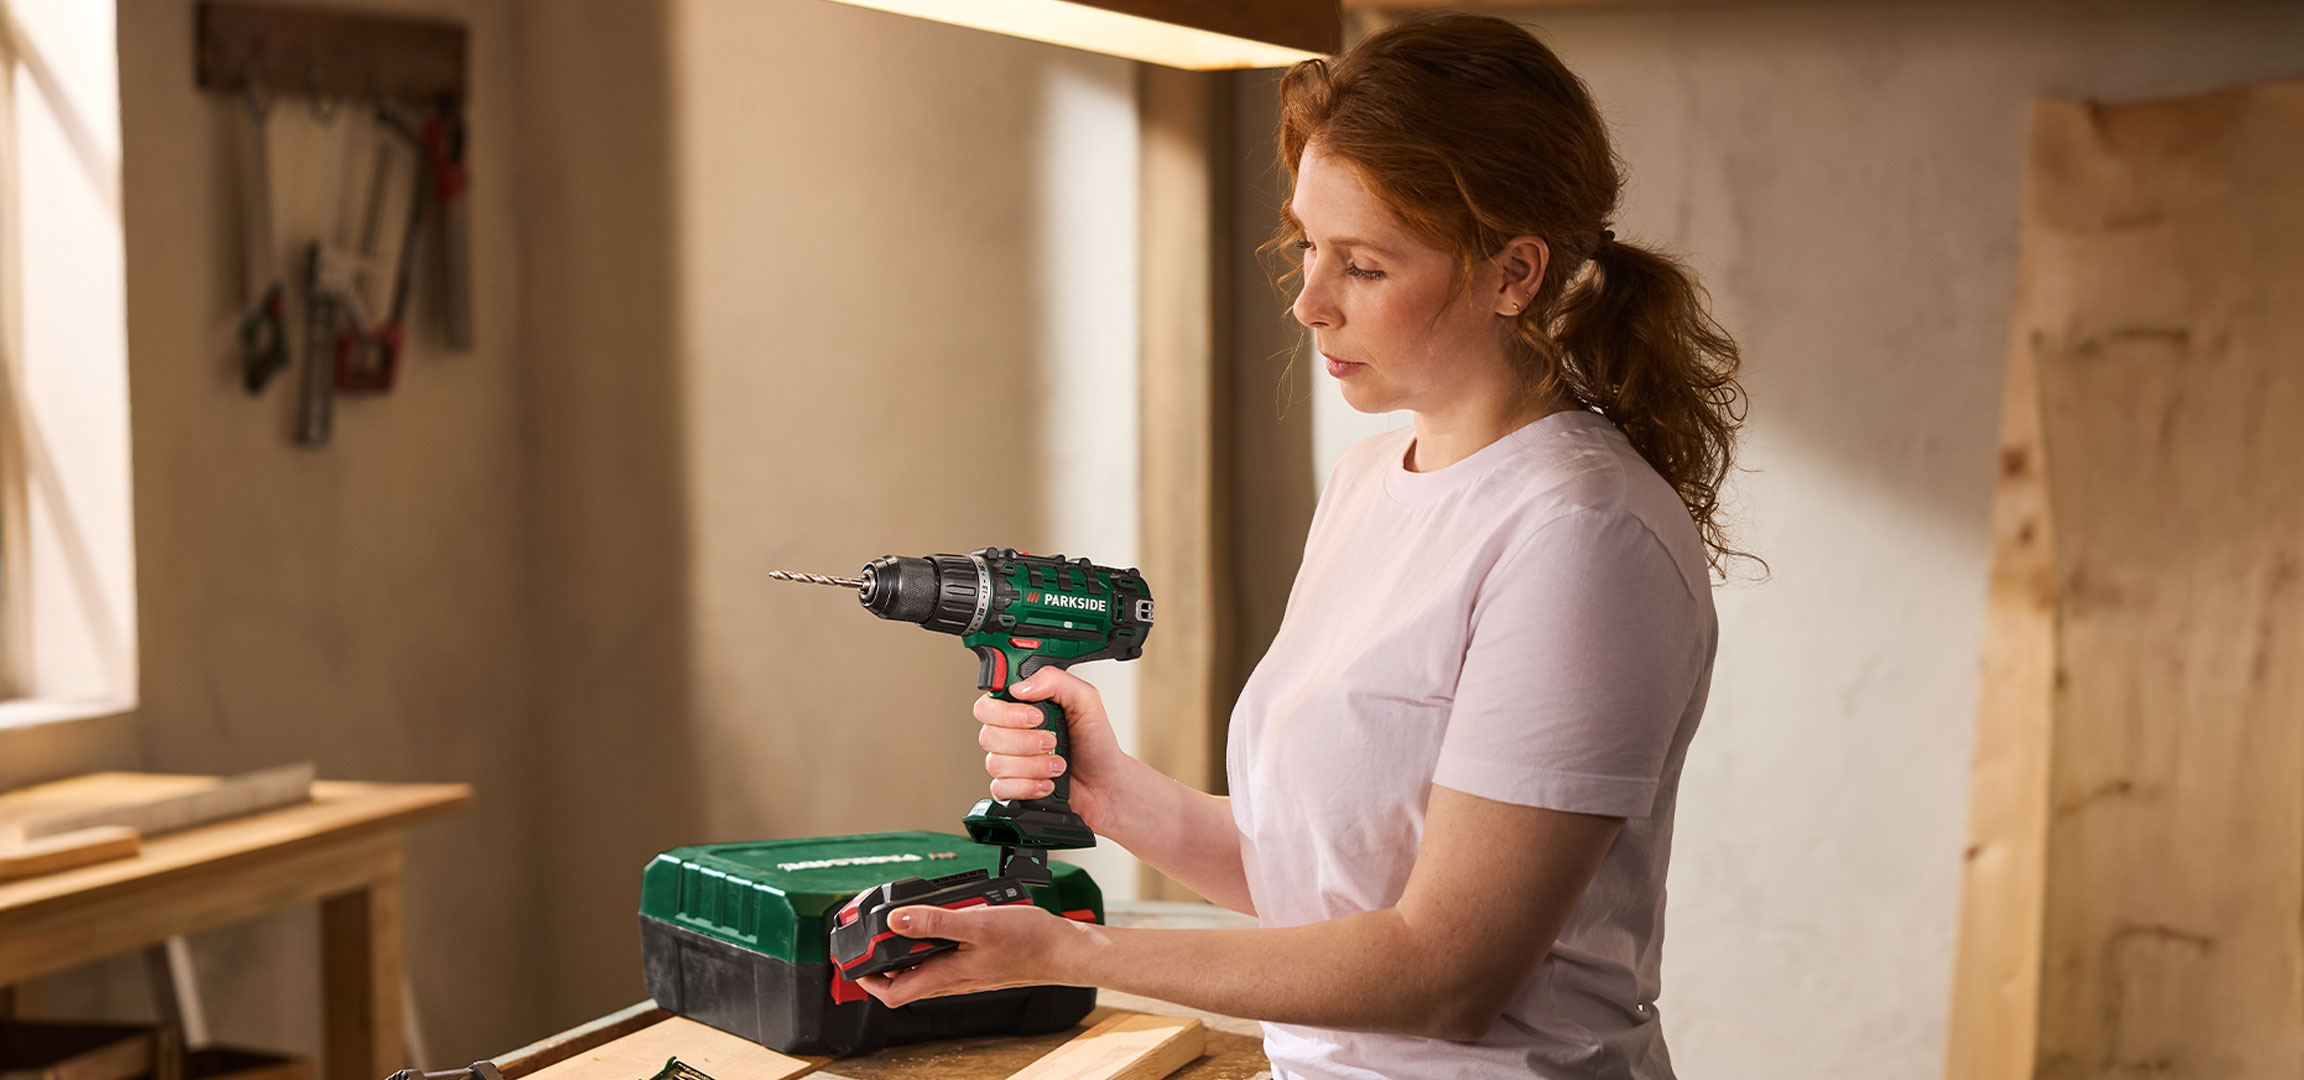
Insert the drill bit straight into the chuck according to the manufacturer's instructions. Make sure it's firmly secured. Always ensure the drill is unplugged or the battery is removed during setup.
Step 5: Position the drill and start drilling
Hold the drill at a 90-degree angle and start the machine by gently squeezing the trigger. For hard materials, it's best to use a drilling template guide to stop the bit from slipping.
Step 6: Clean out the hole
As soon as you reach the desired depth, pull the drill bit out and switch off the machine. Vacuum the dust out of the hole, peel off the masking tape and insert your wall plug.