Why ski touring is the ultimate winter sports experience
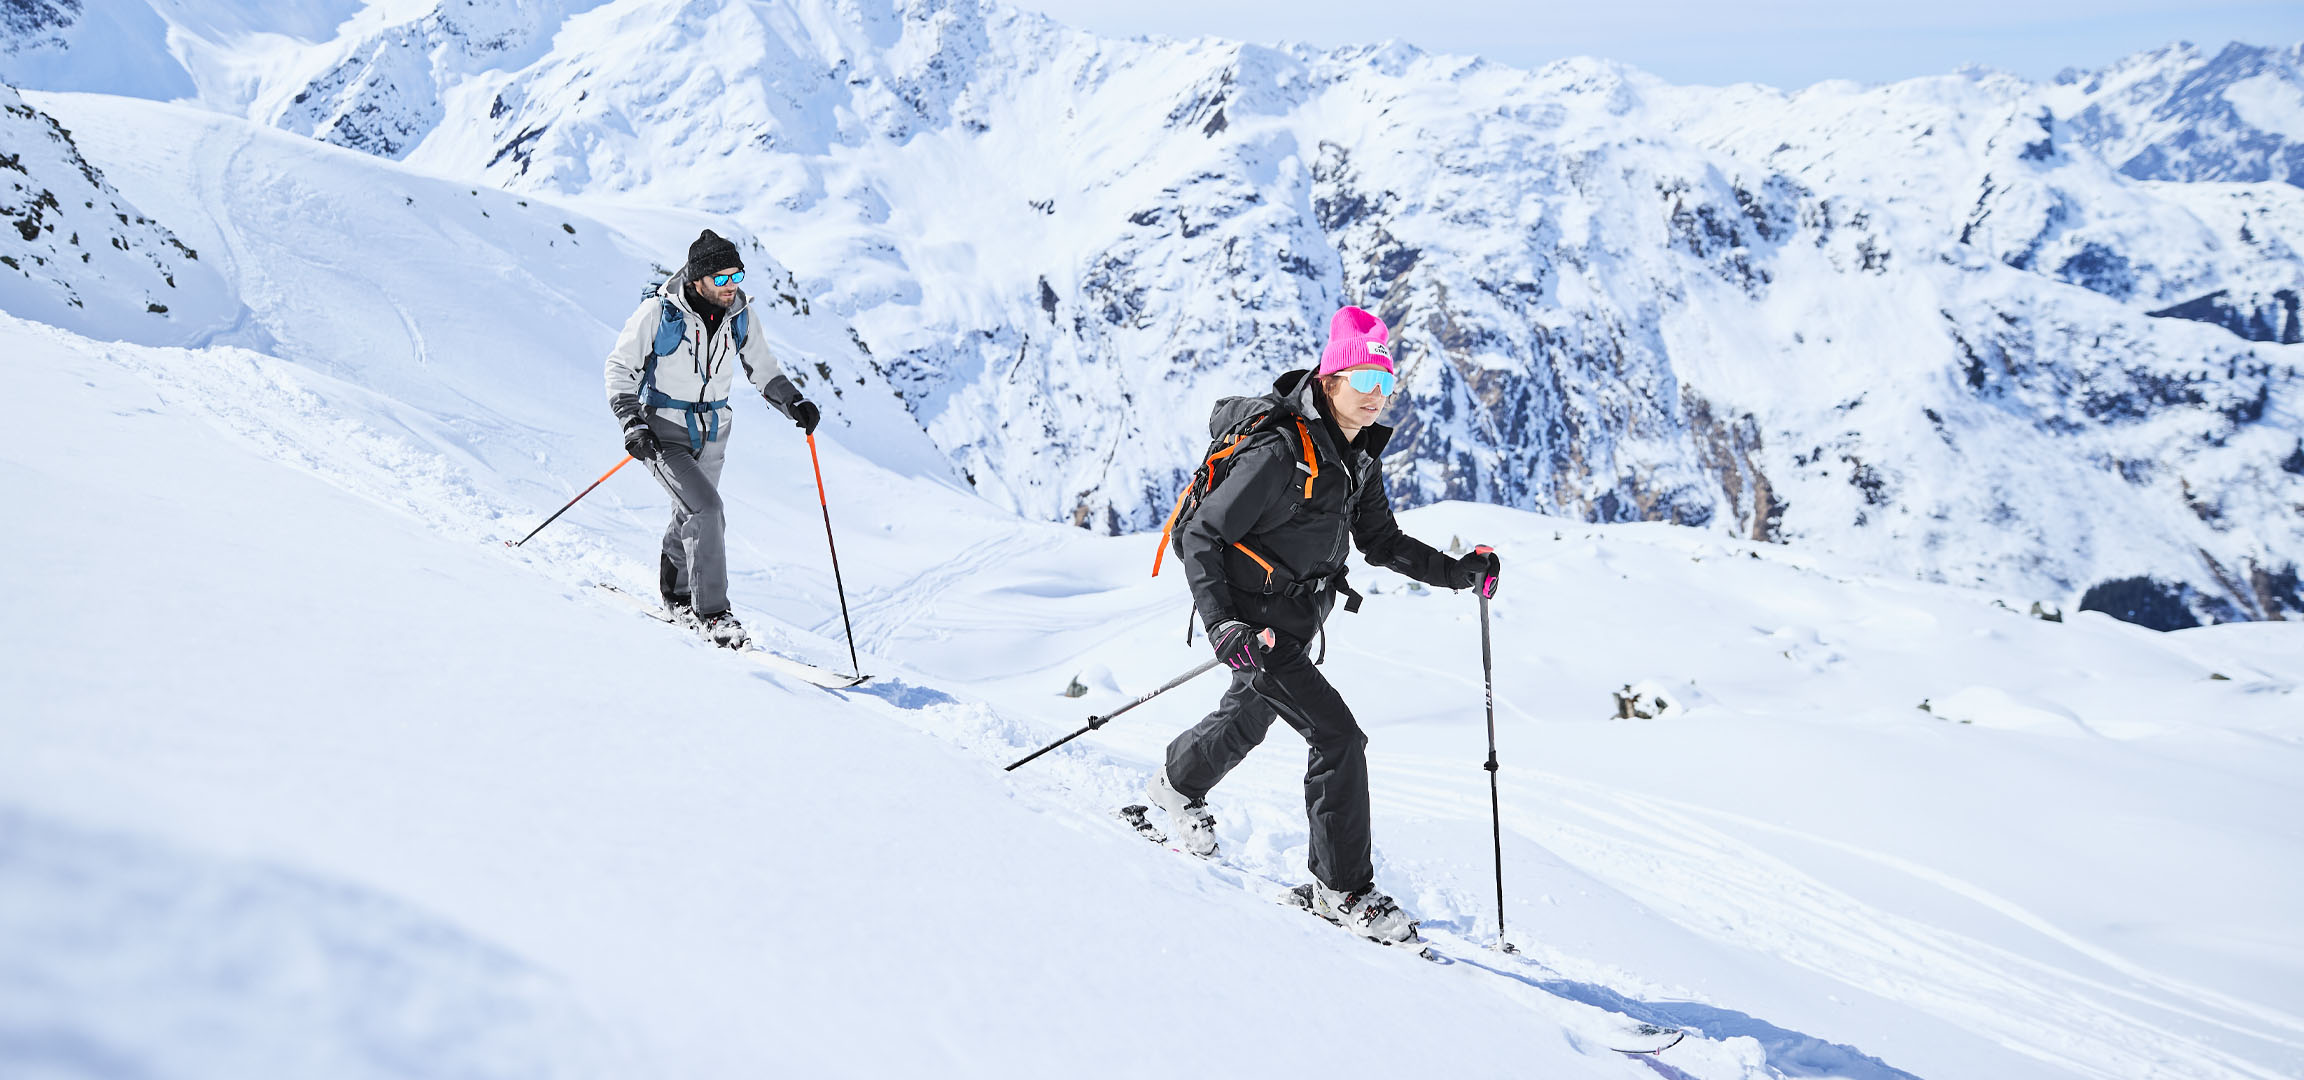
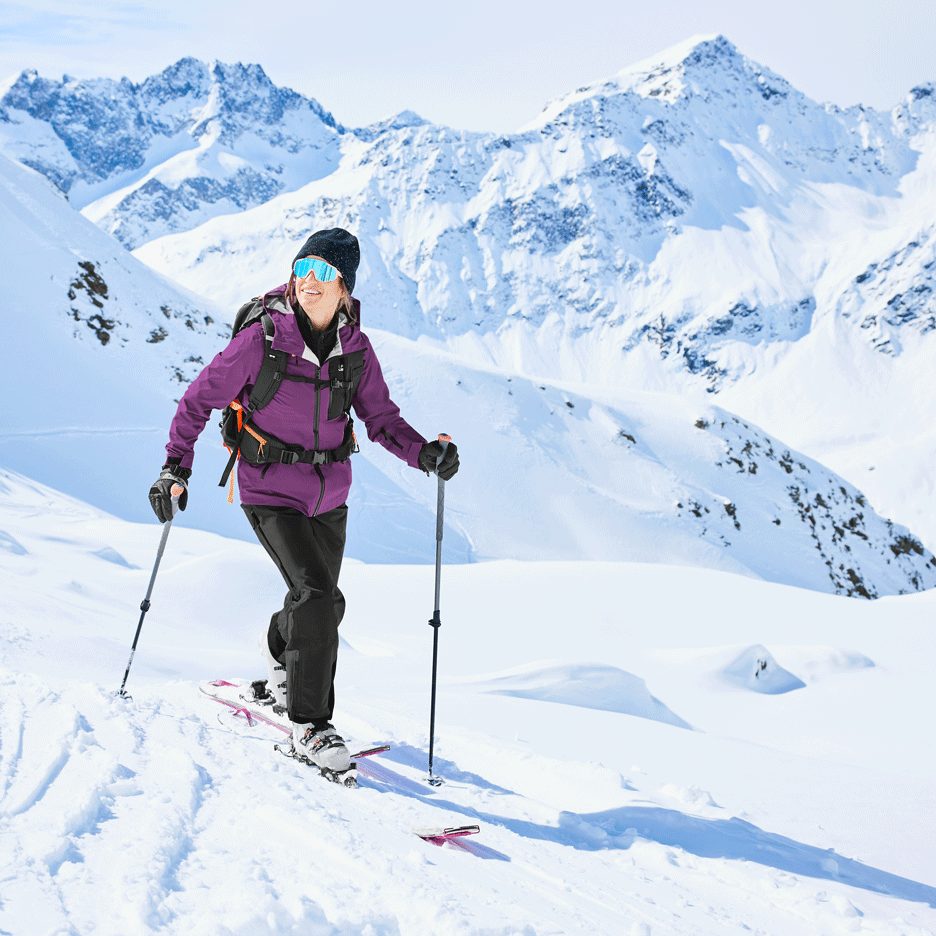
Unlike traditional alpine skiing, ski touring leaves lifts and cable cars behind. You earn every metre of elevation through your own effort and reward yourself after the climb with a breathtaking view and downhill run:
- Effective full-body & endurance workout: The steady ascent challenges your cardiovascular system, leg and core muscles alike. It’s the perfect cardio workout in the fresh winter air.
- Nature experience & slowing down: Instead of crowded slopes, quietness, untouched winter landscapes and fresh mountain air await you.
- Versatility: Whether it's a slope tour for beginners on secured routes or a challenging high-altitude tour in deep powder, ski touring adapts to every fitness level.
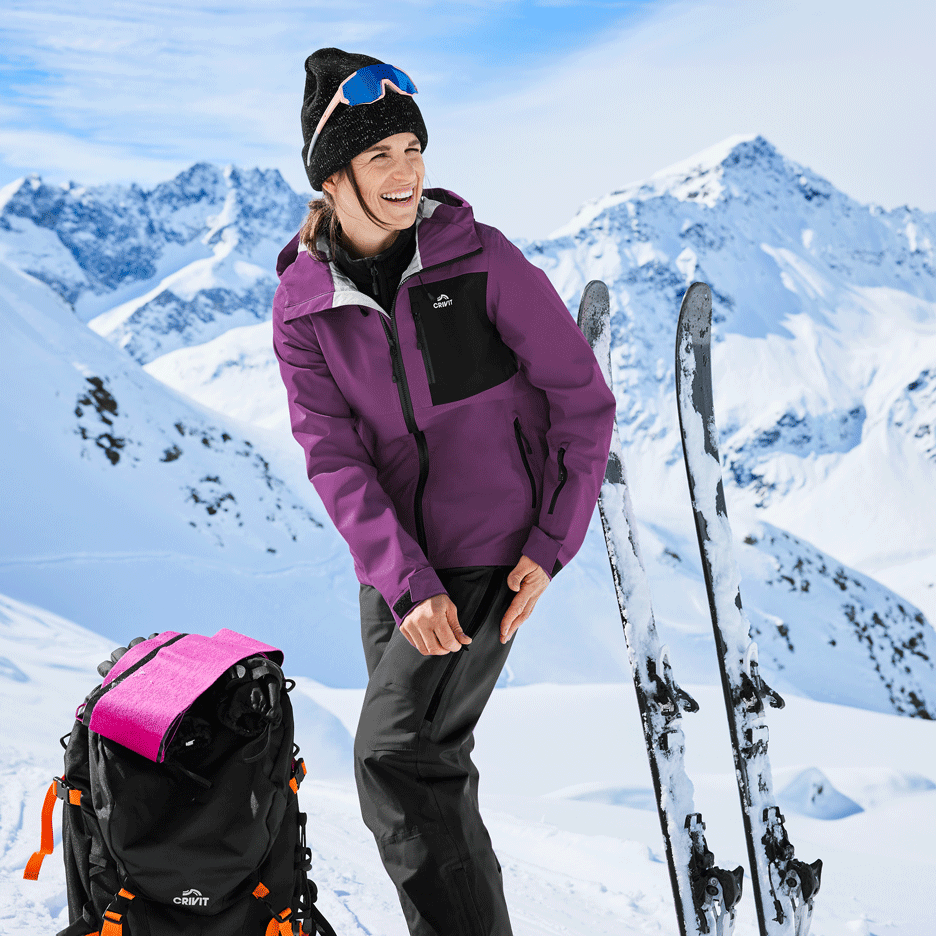
The Right Gear: Skis, Bindings, Skins & Poles
For ski touring, you need specialized equipment that performs well both on the ascent and the descent:
- Touring Skis & Bindings: Ski touring skis are lighter than standard alpine skis. The special bindings allow the heel to be released for climbing, keeping your foot flexible. For the downhill run, the heel is fixed in place.
- Climbing Skins: These are attached to the base of the skis for the ascent. The fine hairs prevent backsliding on snow, allowing effortless forward gliding.
- Telescopic Poles: Height-adjustable ski poles featuring wide powder baskets offer optimal grip on steep terrain and in deep snow.
- Suitable Ski Touring Boots: Touring boots feature a walk mode with extensive cuff rotation for climbing, as well as a treaded sole for walking across rock or ice.
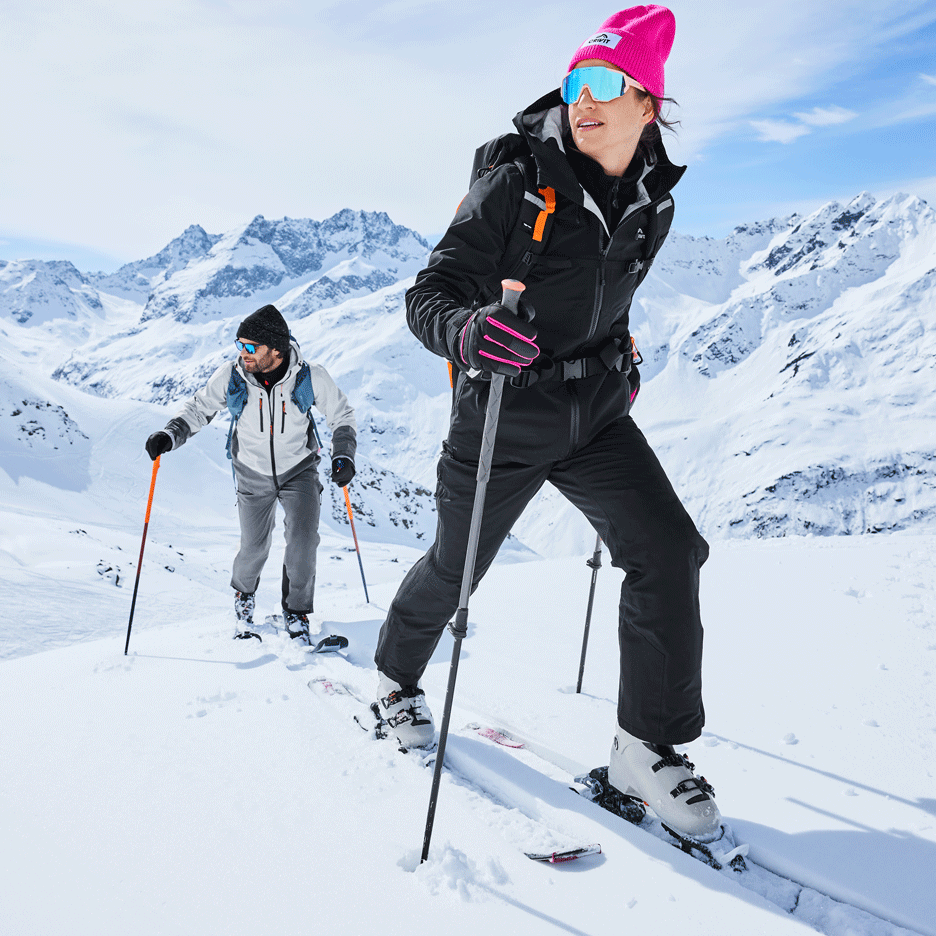
Safety first: Avalanche awareness & risk management
As soon as you venture off-piste, safety is the top priority. Full safety equipment is essential when tackling open terrain:
- Avalanche safety set: consists of an avalanche transceiver (worn on the body), a probe and a sturdy avalanche shovel.
- Avalanche report: check the latest avalanche forecast before every trip to assess the snowpack, risk levels and weather conditions.
- Emergency equipment: a first aid kit, a bivvy bag and a fully charged smartphone belong in every touring backpack.
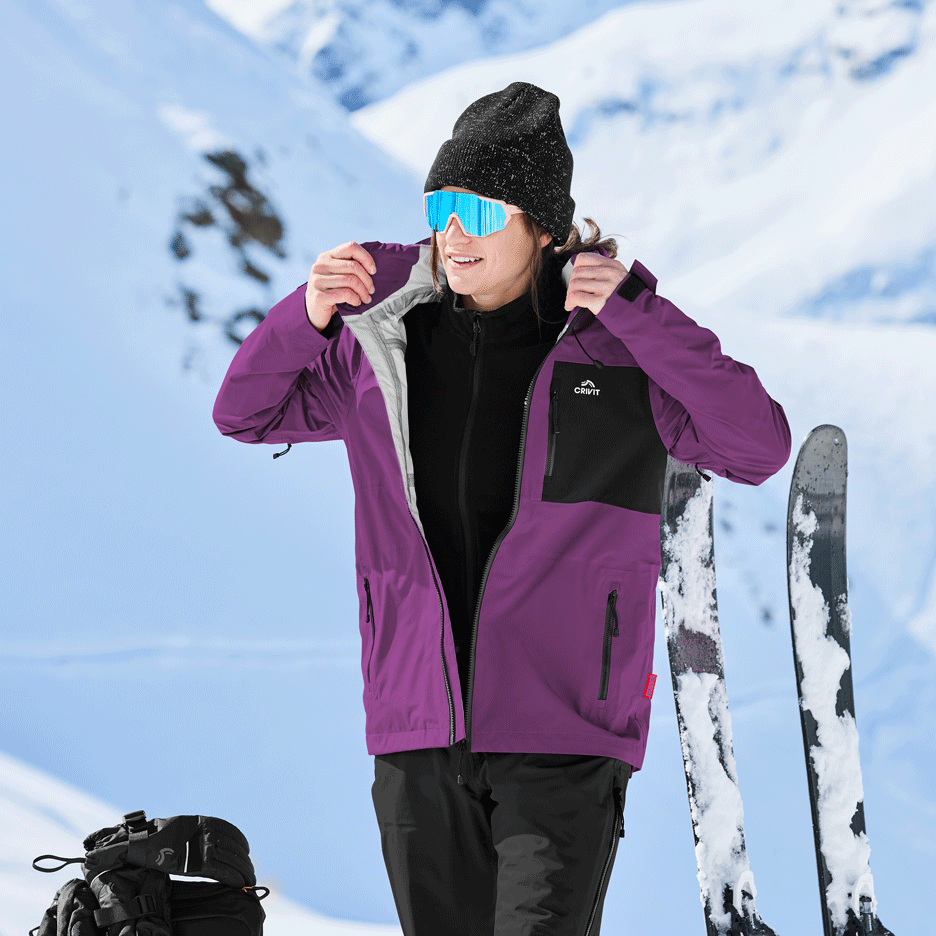
Layering 101: Perfectly dressed for your ascent
Going uphill makes you sweat quickly, while the summit or descent can be windy and cold. Layering protects you from overheating and chilling:
- Layer 1 (Base layer): Breathable thermal underwear (e.g. merino wool or synthetic) that wicks moisture away from the body.
- Layer 2 (Mid layer): Warming fleece or lightweight insulated jacket (e.g. Primaloft or down) for colder sections.
- Layer 3 (Outer layer): Windproof and waterproof hardshell or breathable softshell jacket to protect against wind, snow and bad weather.
- Extra gear: Spare clothes (hat, dry t-shirt) for resting at the summit and two pairs of gloves (thin for the ascent, warm for the descent).
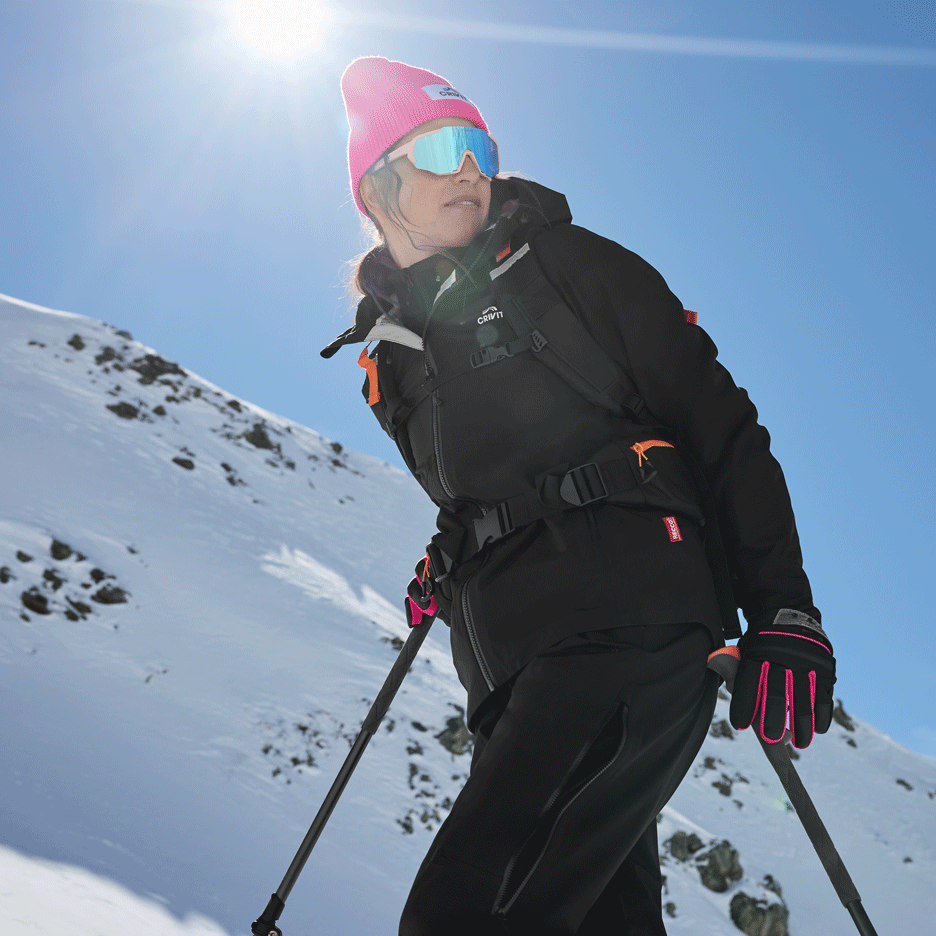
Tips for your first tour: technique & route planning
To ensure your introduction to ski touring is safe and enjoyable, keep these basic rules in mind:
- Start on secured slopes: Many ski resorts offer clearly signposted ski touring routes. Here you can safely practise using skins and bindings, as well as working on your walking technique.
- Optimise your walking technique: Glide, don't lift! Slide your skis forward close to the snow rather than lifting them completely with every step. This saves valuable energy.
- Plan realistically: To begin with, choose short tours with low elevation gain (e.g. 300–500 m) and a gentle gradient.
- Take a course: A beginner course with a ski school or alpine club teaches essential fundamentals regarding line choice, kick-turn technique and avalanche safety.
Frequently Asked Questions (FAQ)
Yes! If you can already ski confidently down the slopes and have a basic level of fitness, you can start ski touring right away. For beginners, prepared piste tours or guided introductory courses are recommended.
Avalanche safety equipment is generally not required on designated and secured ascent routes during slope operating hours. However, as soon as you leave the secured ski area, an avalanche set is vital for survival.
Allow the skins to dry at room temperature after your tour (not directly on the radiator!). After drying, protect the adhesive surface with the supplied mesh or protective film and store them in a cool, dry place.